Build Your Own Homelab with a Raspberry Pi 5
Everything I did to build my homelab on a Raspberry Pi 5, from buying the parts to running my own apps on it. Written so you can follow along even if you've never done anything like this before.
Why I built one
For a long time, the most important part of my work lived on one Seagate external hard drive. My files, my videos, and the knowledge base I built for my AI agent all sat on that one drive, and I carried it everywhere.
The more I built, the more I depended on it. If I left it at home, I couldn't work. A couple of times files got corrupted and I had to rebuild my knowledge base from scratch. Then one day my Mac just stopped reading it. I plugged it in and nothing showed up.
That's when it hit me. I was keeping the most important part of my work on the one thing most likely to get lost or break. So I started reading about homelabs.
A homelab is a computer (or a few) that you keep at home and set up to run things for you. Mine stores my files, runs my apps, blocks ads for my whole Wi-Fi, and runs a small AI model. It's always on, it sits on my desk, and I can reach it from my phone or laptop wherever I am. It's kind of like having your own private cloud.
If you're anything like me, you've been curious about this for a while but it looked complicated. It's a lot more doable than it looks, and this guide walks through every single thing I did, in order.
How it all connects
Before buying anything, it helps to see the whole picture. Here's how mine is wired.
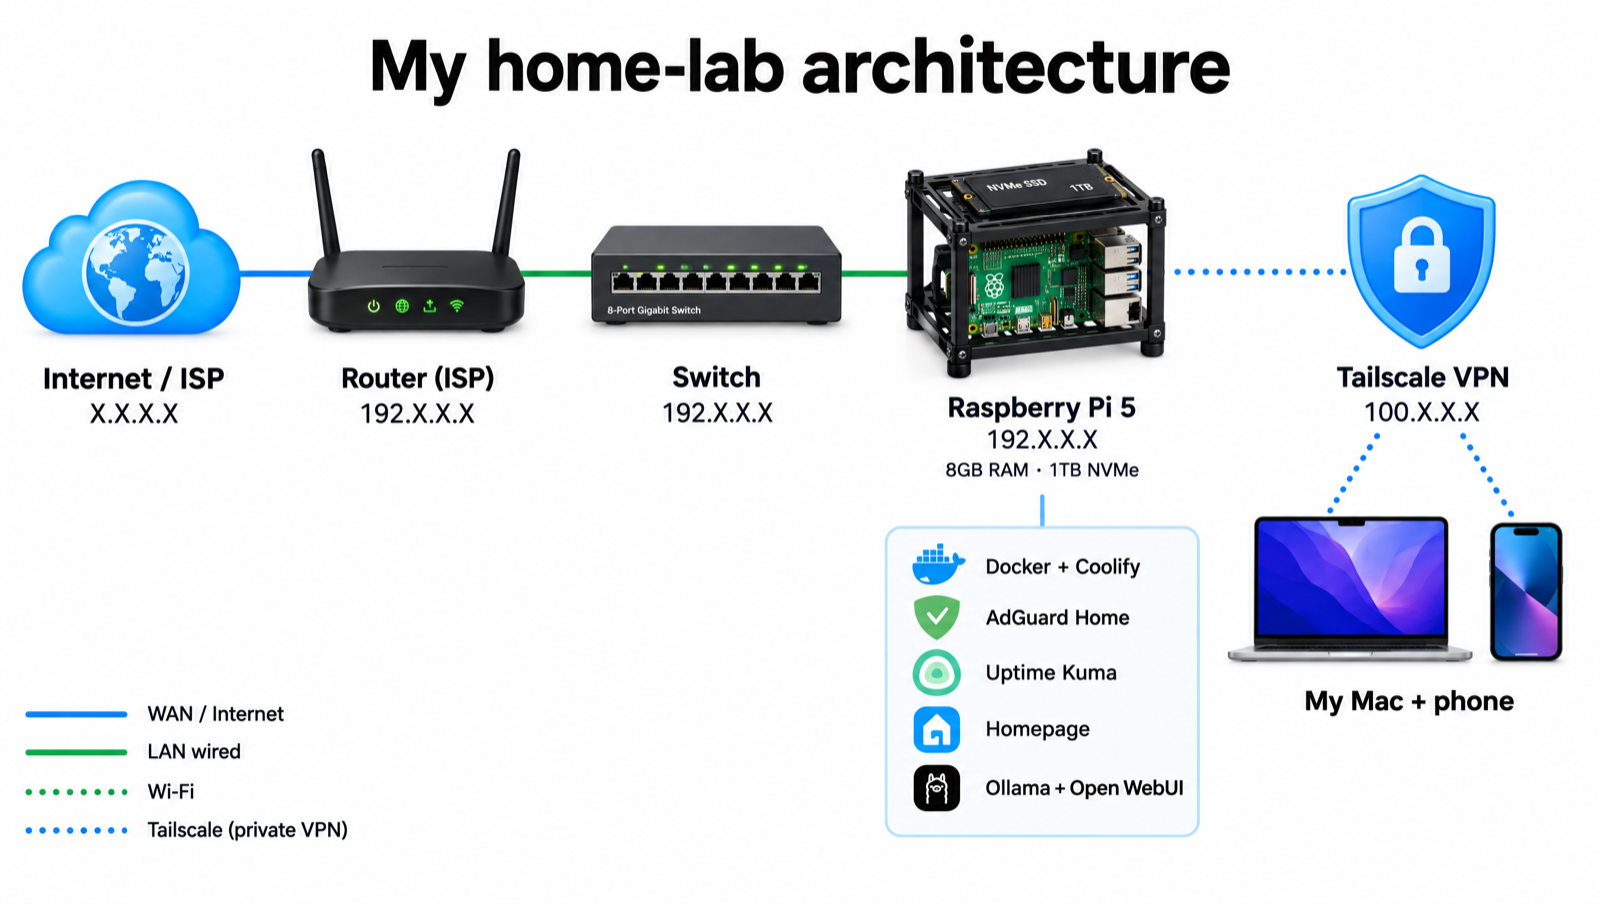
The internet comes into my router. The router connects to a small network switch, and the switch connects to the main server, which is a Raspberry Pi 5 with 8 GB of RAM and a 1 TB SSD.
On the Pi, every app runs inside Docker, and I use a free tool called Coolify to install and manage those apps from a web page. To open my apps from my phone or laptop when I'm away from home, I use Tailscale, which makes a private connection between my devices and the Pi. Nobody else on the internet can get to them.
Don't worry if Docker, Coolify or Tailscale mean nothing to you yet. Each one gets its own section, with exactly what to type.
The parts and what they cost
You can start a homelab on an old laptop, so don't feel like you need all of this. I went with a Raspberry Pi 5 because it's tiny, quiet, and uses very little power, so it's fine to leave on all day.
I split the list in two. The first table is everything you need for a working homelab. The second is the rack and the extras that make it neat and tidy, which you can add later.
[!NOTE] About these links The part links go to Amazon, and they're affiliate links. As an Amazon Associate I earn from qualifying purchases. You pay the same price either way, and it helps me keep writing guides like this one.
The core build
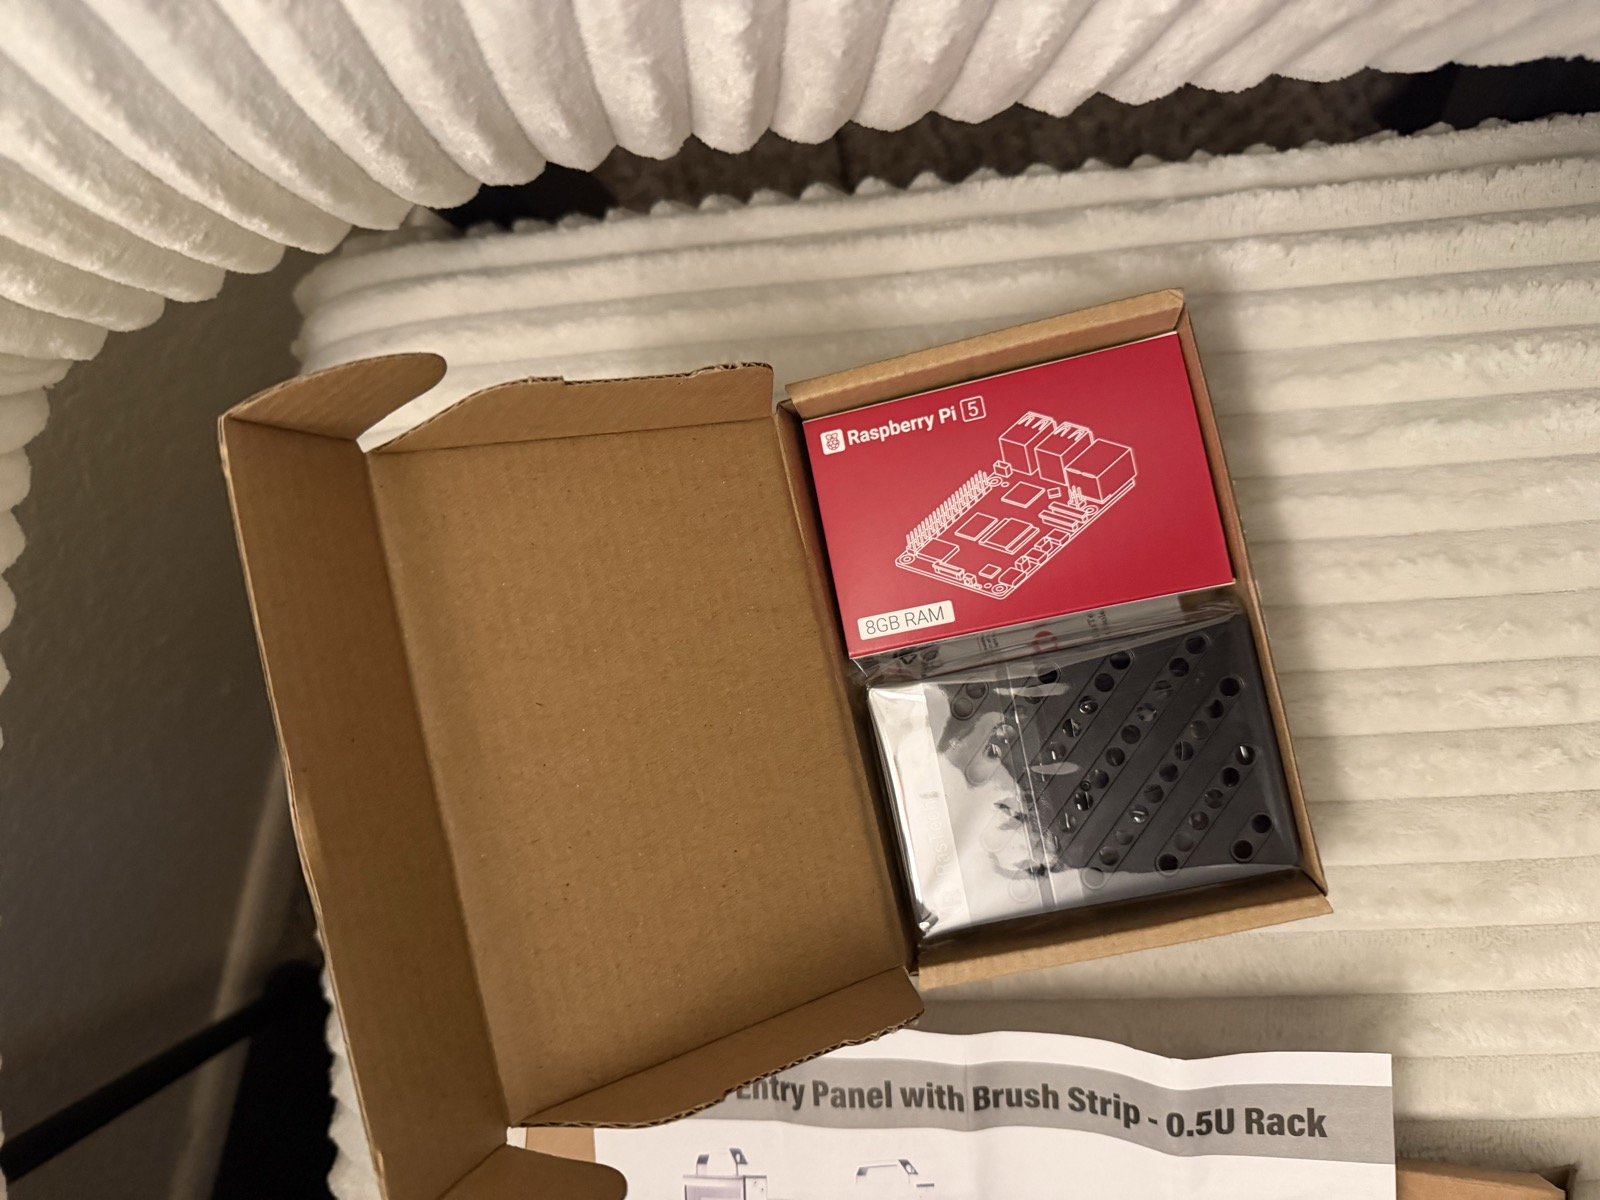
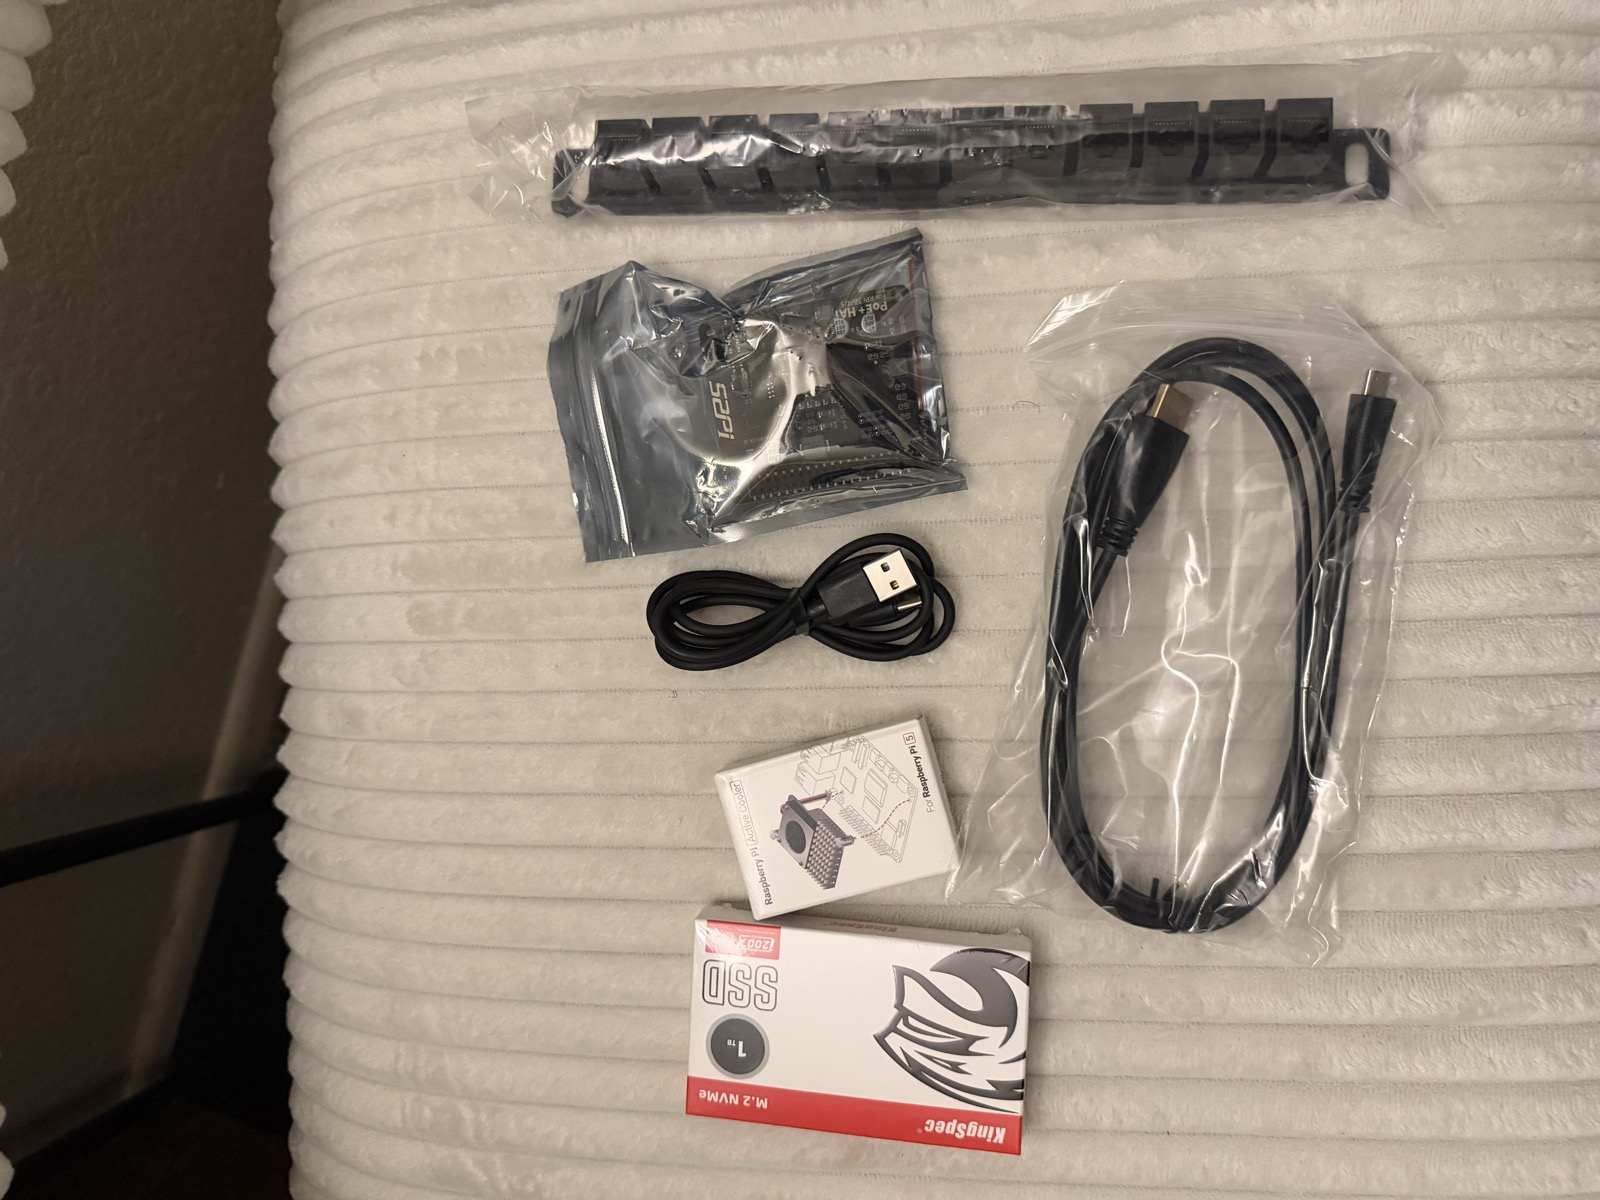
| Part | What it's for | | |---|---|---| | [Raspberry Pi 5 (8 GB)](https://www.amazon.com/dp/B0CK2FCG1K?tag=e0289929281-20) | The computer itself. 8 GB is plenty for a dozen small apps. | [Check price](https://www.amazon.com/dp/B0CK2FCG1K?tag=e0289929281-20) | | [Official Active Cooler](https://www.amazon.com/dp/B0CZLPX2HC?tag=e0289929281-20) | A heatsink and fan that keep the Pi cool when it's busy. | [Check price](https://www.amazon.com/dp/B0CZLPX2HC?tag=e0289929281-20) | | [KingSpec NX 1 TB NVMe SSD (2280)](https://www.amazon.com/dp/B0CP9CXCXG?tag=e0289929281-20) | Fast storage. The Pi starts from it and keeps your data on it. | [Check price](https://www.amazon.com/dp/B0CP9CXCXG?tag=e0289929281-20) | | [iUniker NVMe HAT for Pi 5](https://www.amazon.com/dp/B0GZ2WK52D?tag=e0289929281-20) | A small board that lets the Pi talk to the SSD. | [Check price](https://www.amazon.com/dp/B0GZ2WK52D?tag=e0289929281-20) | | [27W USB-C power supply](https://www.amazon.com/dp/B0D3MFLNC1?tag=e0289929281-20) | Use a proper 27W one. Weaker chargers make the Pi act strangely. | [Check price](https://www.amazon.com/dp/B0D3MFLNC1?tag=e0289929281-20) | | [SanDisk Extreme 64 GB microSD](https://www.amazon.com/dp/B07FCMBLV6?tag=e0289929281-20) | Only for the first start. Afterwards it's your backup card. | [Check price](https://www.amazon.com/dp/B07FCMBLV6?tag=e0289929281-20) |
The rack and extras
| Part | What it's for | | |---|---|---| | [DeskPi RackMate T1 Plus (8U, 10-inch)](https://www.amazon.com/dp/B0FWJXF7FM?tag=e0289929281-20) | The mini rack. Mine is the RackMate TT; this is the closest one on Amazon now. | [Check price](https://www.amazon.com/dp/B0FWJXF7FM?tag=e0289929281-20) | | [1U shelf for single-board computers](https://www.amazon.com/dp/B0D5XMM7HL?tag=e0289929281-20) | The tray the Pi sits on inside the rack. | [Check price](https://www.amazon.com/dp/B0D5XMM7HL?tag=e0289929281-20) | | [GeeekPi 12-port patch panel (1U)](https://www.amazon.com/dp/B0FXB4RJ5R?tag=e0289929281-20) | Network cables plug in at the front, so the back stays tidy. | [Check price](https://www.amazon.com/dp/B0FXB4RJ5R?tag=e0289929281-20) | | [GeeekPi rack fan unit (2 fans)](https://www.amazon.com/dp/B0GMPWFCD5?tag=e0289929281-20) | Pulls warm air out of the rack. | [Check price](https://www.amazon.com/dp/B0GMPWFCD5?tag=e0289929281-20) | | [0.5U brush panel](https://www.amazon.com/dp/B0DKBG1KZJ?tag=e0289929281-20) | Lets cables through while the front stays clean. | [Check price](https://www.amazon.com/dp/B0DKBG1KZJ?tag=e0289929281-20) | | [TP-Link 5-port gigabit switch](https://www.amazon.com/dp/B09NMY1RRG?tag=e0289929281-20) | Connects the Pi and your router. Make sure it says gigabit. | [Check price](https://www.amazon.com/dp/B09NMY1RRG?tag=e0289929281-20) | | [Cat6 patch cables, 1 ft, 10-pack](https://www.amazon.com/dp/B0CQX62ZKL?tag=e0289929281-20) | Short network cables for inside the rack. | [Check price](https://www.amazon.com/dp/B0CQX62ZKL?tag=e0289929281-20) | | [ZHAOCAILIN 8.8-inch bar screen](https://www.amazon.com/dp/B0FC5VYZ1Z?tag=e0289929281-20) | A long, thin screen on top of the rack for the dashboard. | [Check price](https://www.amazon.com/dp/B0FC5VYZ1Z?tag=e0289929281-20) | | [UGREEN micro HDMI to HDMI cable](https://www.amazon.com/dp/B06WWQ7KLV?tag=e0289929281-20) | The Pi 5 has micro HDMI ports, so you need this for any screen. | [Check price](https://www.amazon.com/dp/B06WWQ7KLV?tag=e0289929281-20) | | [CyberPower ST425 battery backup](https://www.amazon.com/dp/B07GZR981Y?tag=e0289929281-20) | Keeps things running if the power goes out, and stops surges. | [Check price](https://www.amazon.com/dp/B07GZR981Y?tag=e0289929281-20) | | [Reusable cable ties, 200 pack](https://www.amazon.com/dp/B0FJG65R2H?tag=e0289929281-20) | For cable management. You'll use more than you think. | [Check price](https://www.amazon.com/dp/B0FJG65R2H?tag=e0289929281-20) |
For a budget: my core build came to about $430, and the rack and extras added about $400. Prices move around a lot, especially SSDs, so check today's price before you buy.
My own receipts came to more, around $1,500, because I bought a few things I didn't need yet, like a second battery backup and a PoE HAT, which powers the Pi through its network cable. I set the PoE HAT aside because it can't stack on top of the SSD board.
[!WARNING] My first mistake: check the switch speed The first network switch I bought was a 100 Mbps model. That's ten times slower than gigabit, and you feel it the moment you copy a big file. When you shop, look for "gigabit" or "10/100/1000" in the name.
Building the rack
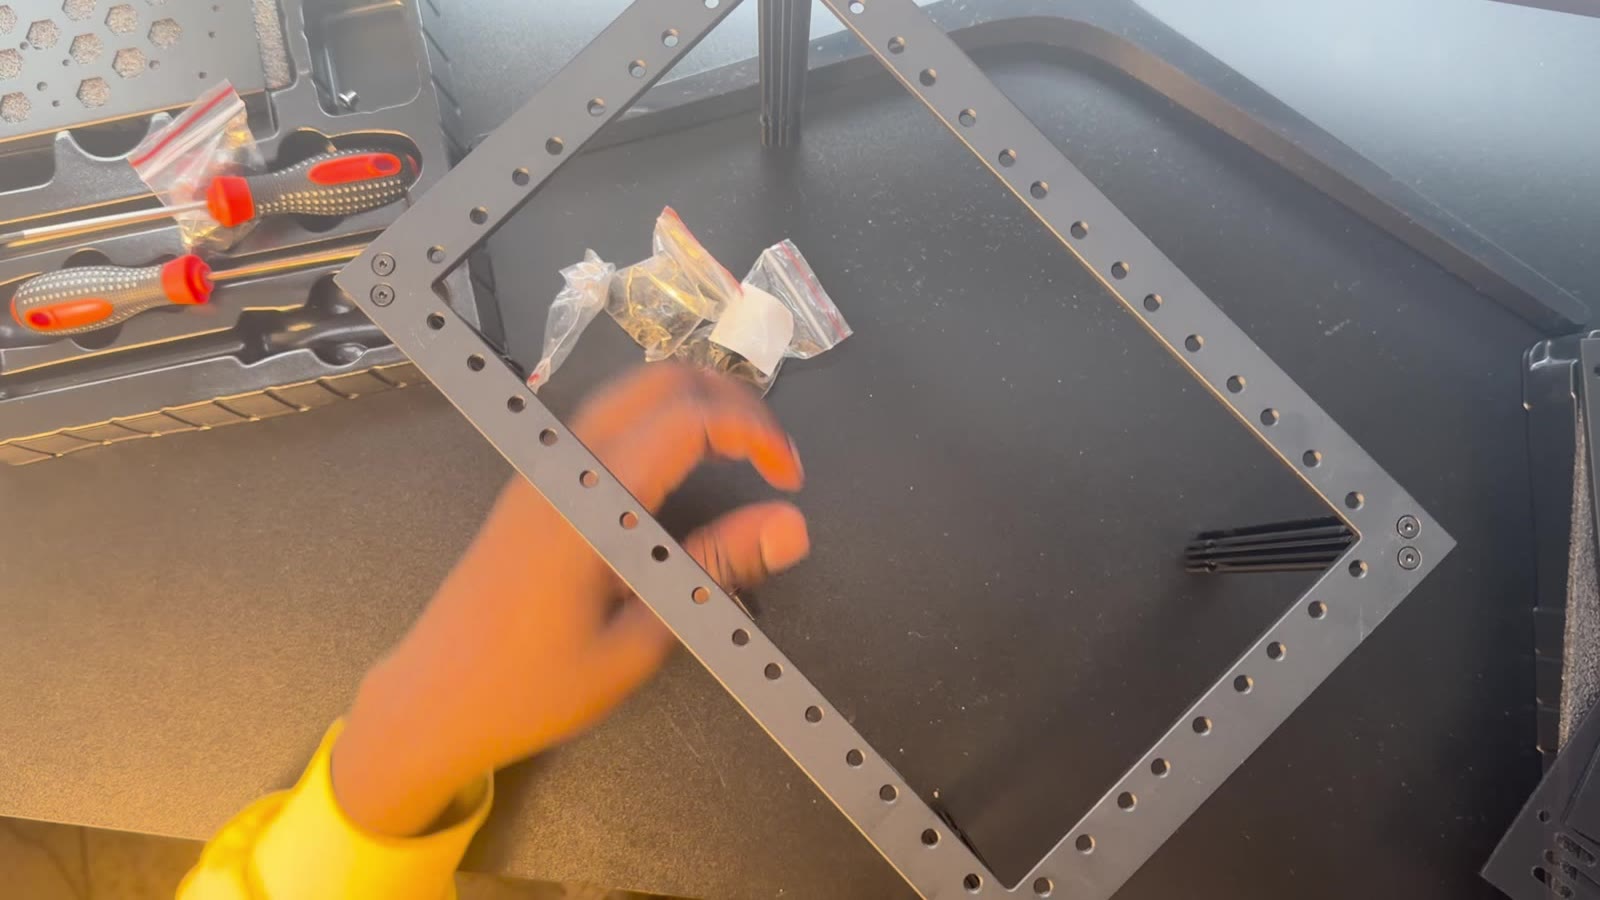
The first thing I needed was somewhere to put it all. The DeskPi RackMate came with way more than I expected: rails, panels, shelves, a whole tray of screws, and even its own screwdrivers.
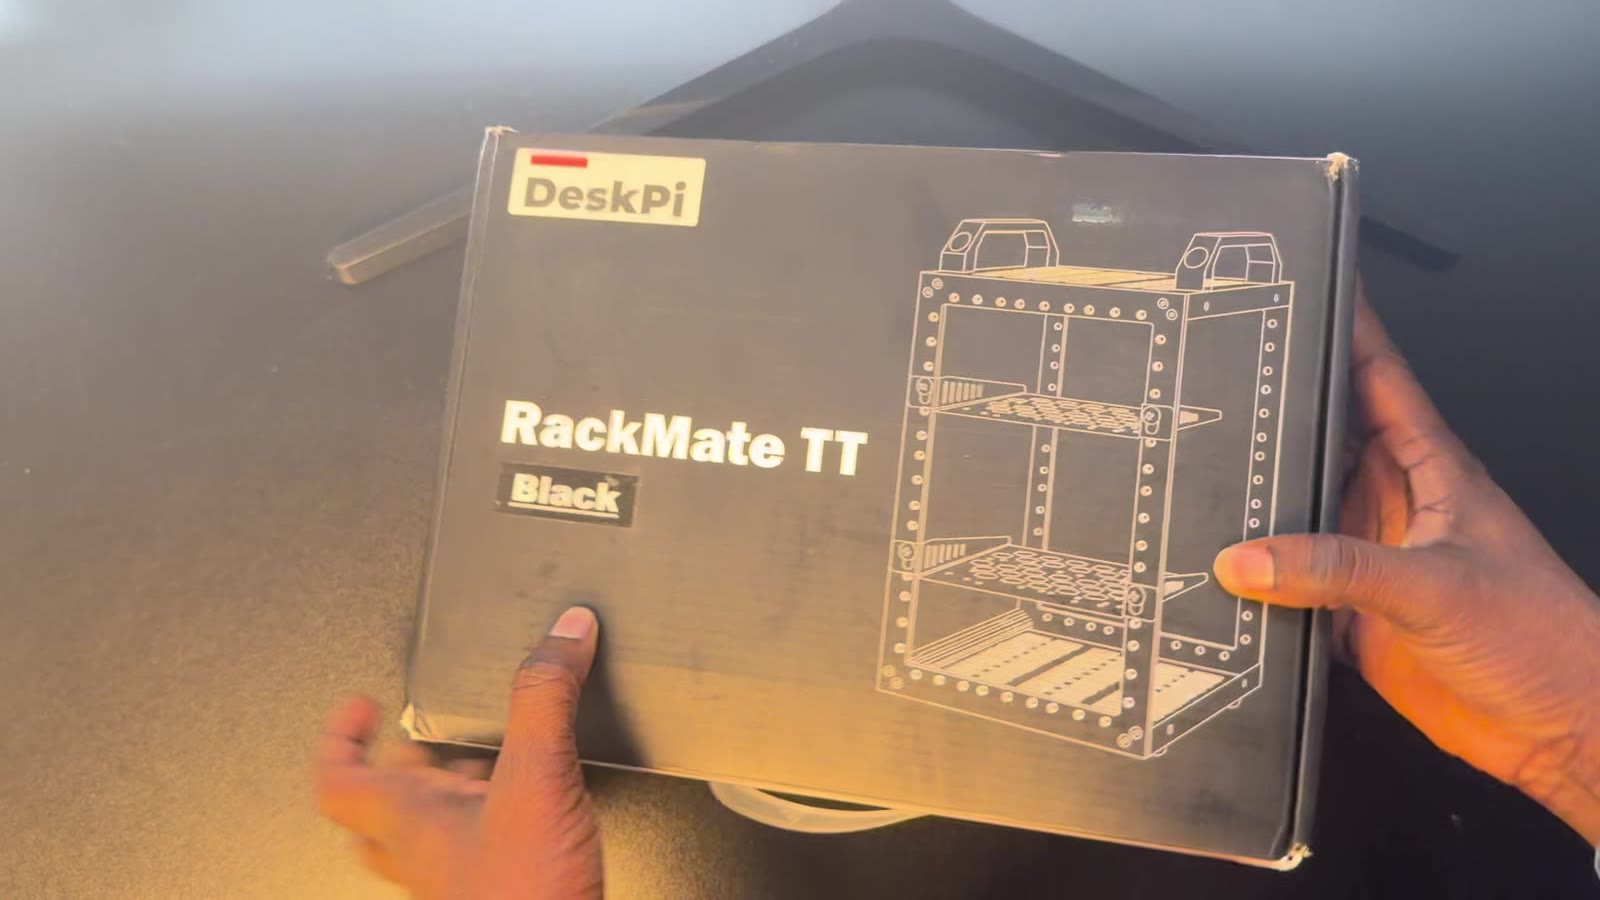 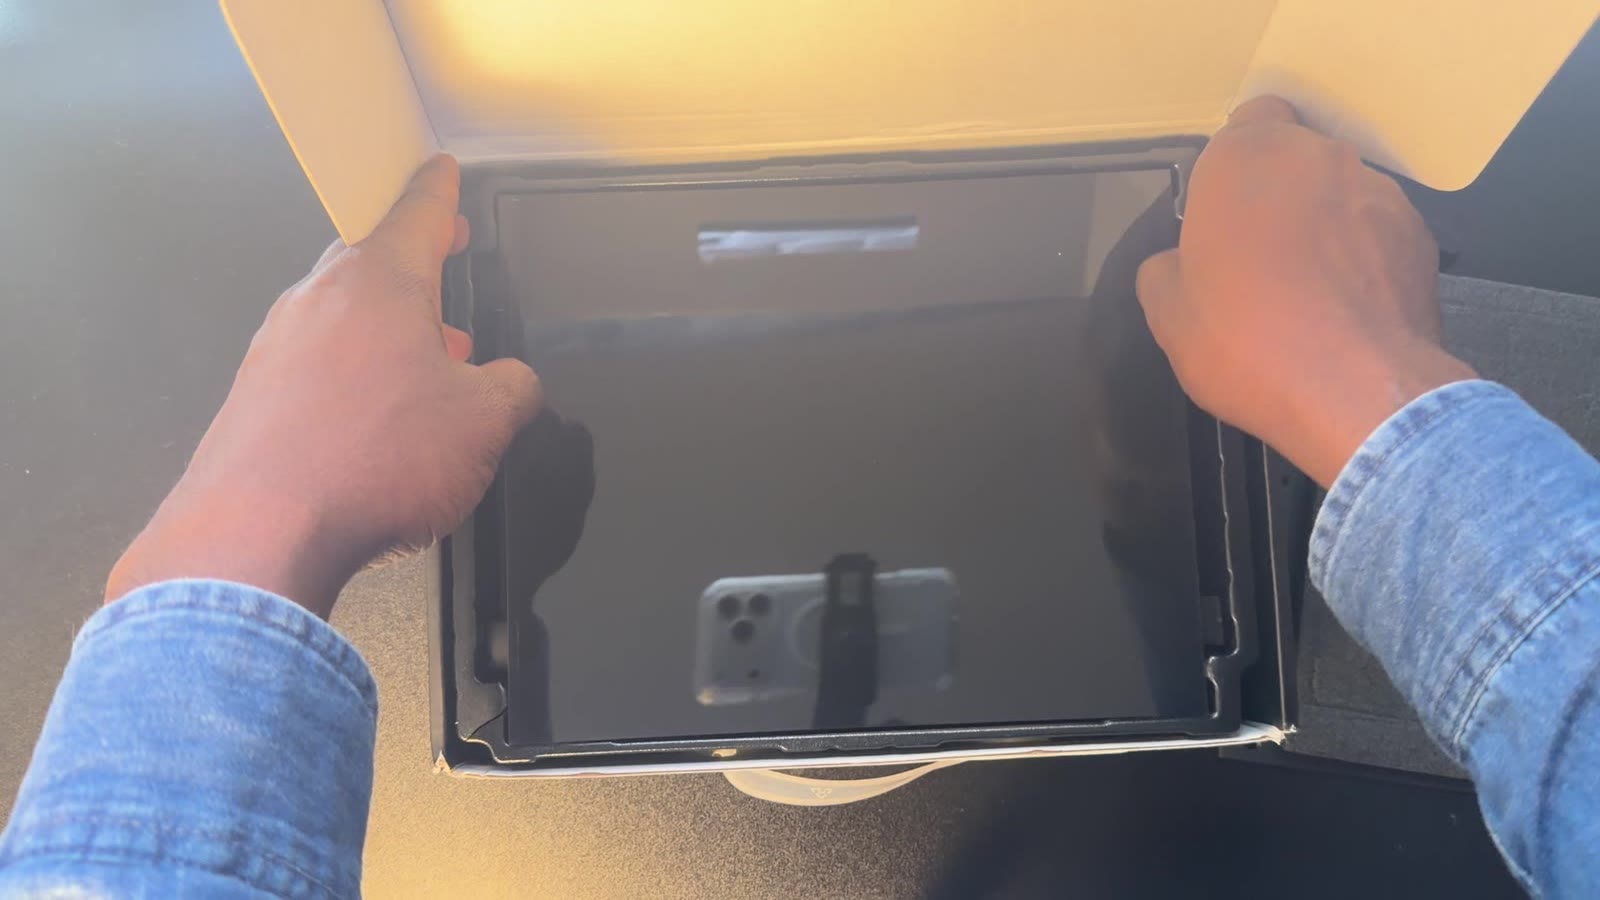
Putting it together took me about forty minutes. It's mostly rails and screws, and once the frame is square, the rest goes quickly.
1. Lay out every bag of screws and match them to the manual before you start. The bags are labelled, and the manual shows which one goes where. 2. Screw the four side rails onto the bottom plate to make the first square. Keep the screws a little loose until all four are in. 3. Add the top plate the same way, then tighten everything once the frame stands straight.
 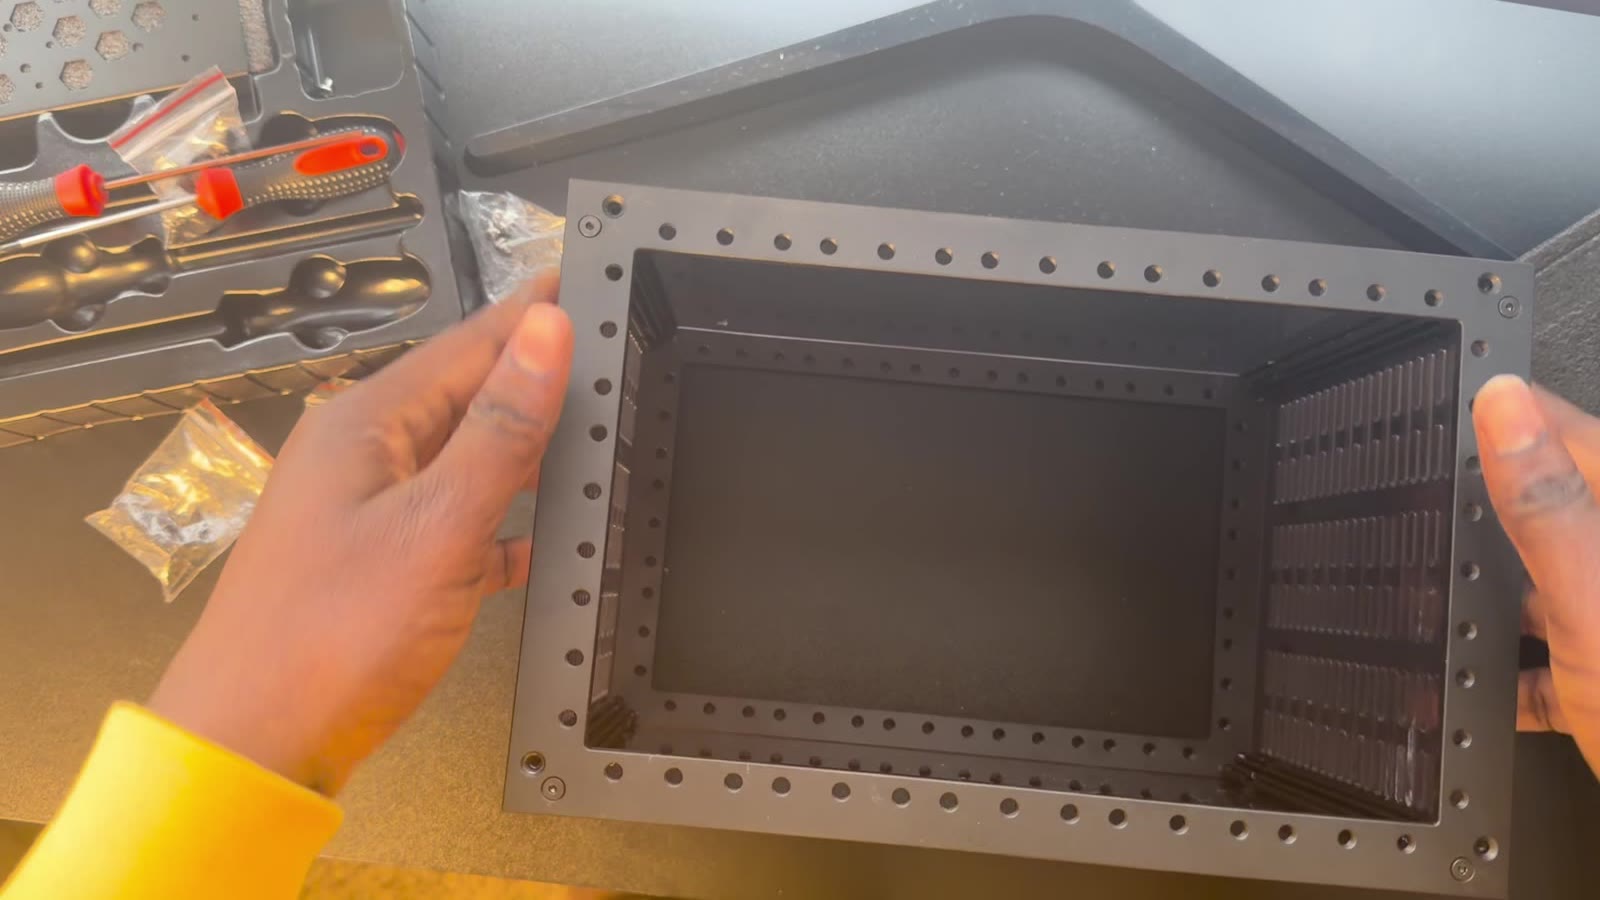
[!NOTE] Good to know Rack sizes are measured in "U". One U is 1.75 inches tall. A 1U panel fills one slot, a 0.5U panel fills half of one. An 8U rack has room for eight 1U things.
Putting the panels in
Every panel mounts the same way: hold it against the front rails (or the back rails for the fans), line its holes up with the holes in the rails, and screw it in with the small cage screws from the kit. Plan the order from the top down before you start, so you don't have to take anything out again. Here's the order I went with.
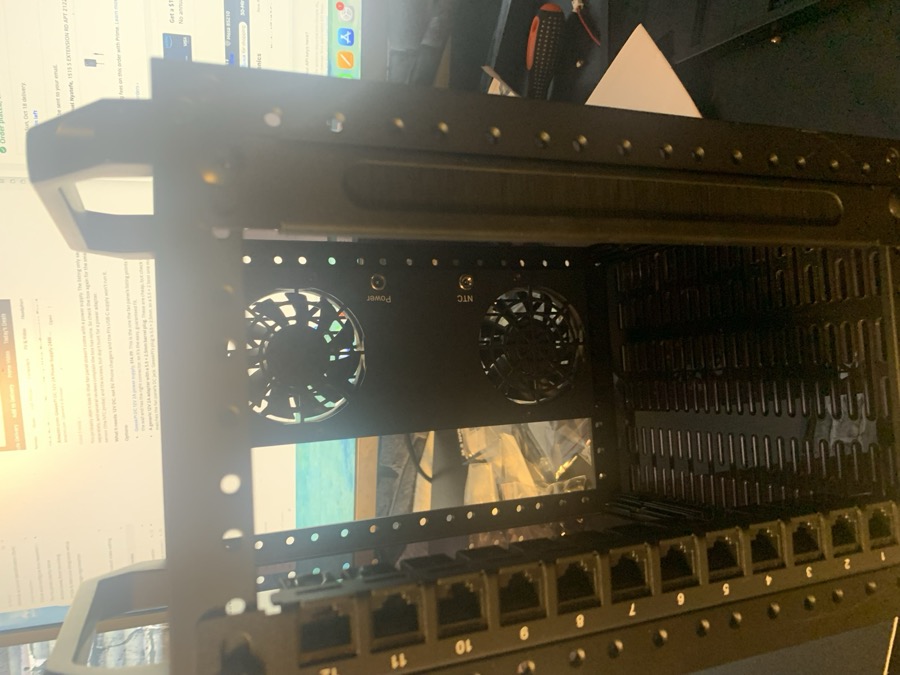
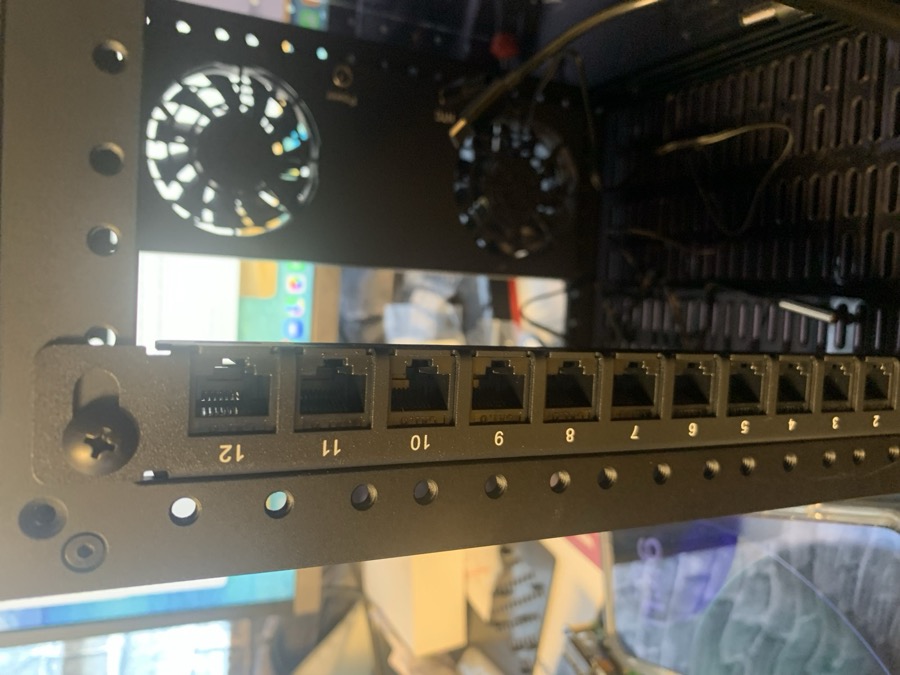
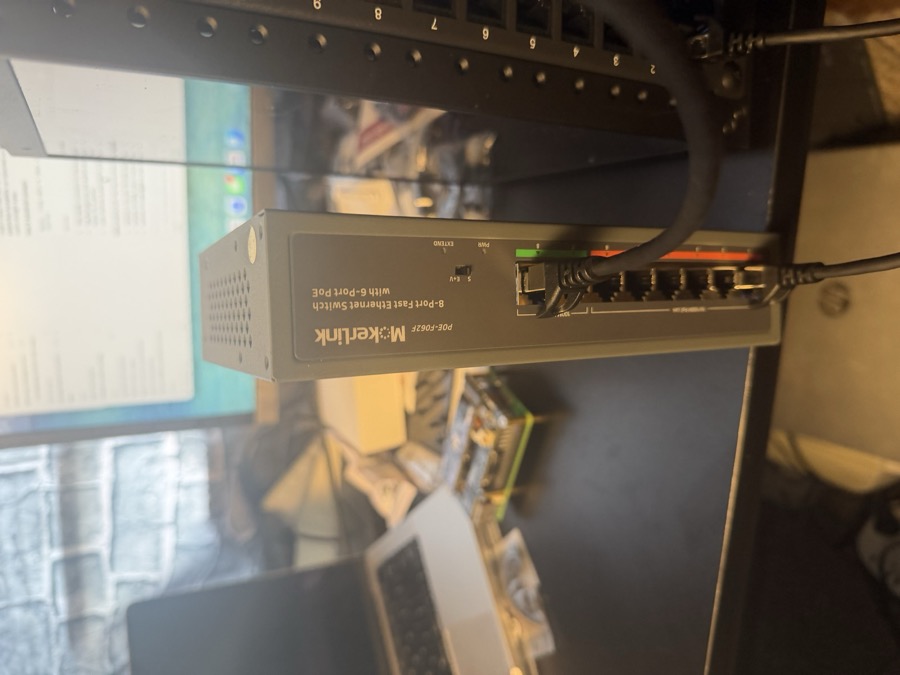
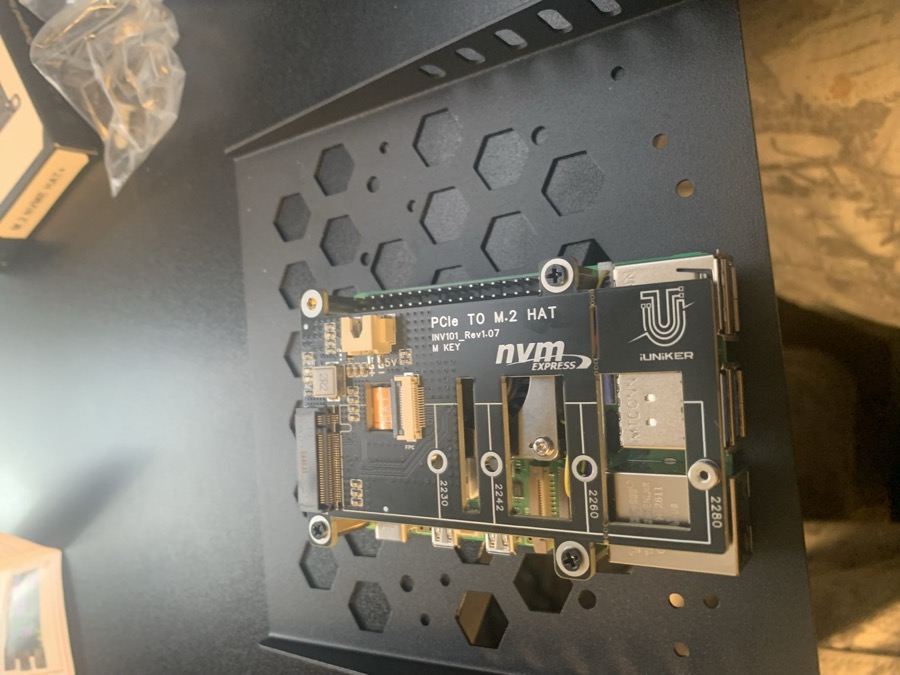
1. The patch panel goes near the top, at the front. Snap the keystone jacks into the panel first, then screw it in. Network cables from outside plug in at the front, and short patch cables run from the back of each jack to the switch. 2. The fan unit goes on the back. It pulls warm air out of the rack, so put it level with the Pi. Plug its power cable in, and if it has a temperature probe, tuck the probe near the Pi so the fans only speed up when it gets warm. 3. The switch goes in the middle. Small desktop switches don't have rack holes, so they sit on a shelf or bolt into a pair of rack ears made for that model. 4. The Pi shelf goes under the switch. Screw the Pi stack (from the next section) onto the shelf first, then slide the shelf in. Leave a little room above it so warm air can get out. 5. The brush panel goes at the back or the bottom. The power and network cables pass through its bristles, so the inside stays tidy and the cables don't get pinched. 6. Cable ties last. Once everything is plugged in, bundle the cables along the rails with the reusable ties.
The screen on top
The last piece is the little bar screen. It sits on top of the rack, and it's my favourite part, because it shows what the homelab is doing at a glance.
1. Put the screen on top of the rack, on the stand it comes with. 2. Plug the micro HDMI end of the cable into the Pi's first HDMI port (the one closest to the power socket), and the other end into the screen. 3. Power the screen with the USB cable from its box, plugged into one of the Pi's USB ports.