How to Host Your Own Google Drive on a Raspberry Pi (Nextcloud)
How I set up my own Google Drive on a Raspberry Pi with Nextcloud, step by step, so you can do the same.
What you're building
Nextcloud is basically Google Drive, but you run it yourself. You get folders, uploads, sharing, and a phone app, and every file sits on your own machine instead of someone else's server.
This guide assumes you already have a homelab with [Coolify](/blog/build-your-own-homelabinstalling-apps-with-coolify) and [Tailscale](/blog/build-your-own-homelabreaching-it-from-anywhere) running. If you don't, my [homelab guide](/blog/build-your-own-homelab) walks through all of that first. Come back here once you can open Coolify in your browser.
What you need
- A homelab running Coolify. Mine is a Raspberry Pi 5 with 8 GB of RAM and a 1 TB SSD. Here's [the parts I used](/blog/build-your-own-homelabthe-parts-and-what-they-cost) and [how to install Coolify](/blog/build-your-own-homelabinstalling-apps-with-coolify). - Tailscale on the homelab and on your phone and laptop, so you can reach it when you're away from home. [How to set up Tailscale](/blog/build-your-own-homelabreaching-it-from-anywhere). - About 30 minutes. Most of that is waiting for downloads.
1. Make folders for your files
First, decide where Nextcloud's files will live. I keep everything for my apps under a homelab folder in my home directory, so I know exactly where to look.
Open the Terminal on your laptop and log in to your homelab. (Never used the Terminal or SSH before? [This part of my homelab guide](/blog/build-your-own-homelabthe-first-start-and-logging-in) shows where to find it and how logging in works.)
bash ssh you@homelab.local
Then make two folders, one for Nextcloud's own data and one for any files you already have and want to see in Nextcloud:
bash mkdir -p ~/homelab/nextcloud/data ~/homelab/files
Check where your home folder is, because you'll need the full path in a minute:
bash echo $HOME
Mine prints /home/enyatefe. Yours will have your username in it.
2. Add Nextcloud in Coolify
1. Open Coolify in your browser and click Projects, then your project (mine is called Homelab), then production. If you don't have a project yet, [this section](/blog/build-your-own-homelabinstalling-apps-with-coolify) shows how to make one and deploy your first app. 2. Click + New to add a resource. 3. Type Nextcloud in the search box. You'll see a few versions. Pick Nextcloud With Postgres.
The Postgres version comes with its own database. It handles lots of files better than the simplest version, and you don't have to set up a database yourself.
Don't click Deploy yet. There's one change to make first.
3. Point Nextcloud at your folders
By default, Coolify keeps Nextcloud's files somewhere hidden inside Docker (the tool that runs each app in its own sealed box, [explained here](/blog/build-your-own-homelabinstalling-apps-with-coolify)). I wanted them in the folders I just made, so I can see them and back them up.
1. On the Nextcloud page in Coolify, click Edit Compose File. 2. Find the volumes: part under the nextcloud: service. Add your two folders so it looks like this, using your own home path from step 1:
yaml volumes: - 'nextcloud-config:/config' - '/home/you/homelab/nextcloud/data:/data' - '/home/you/homelab/files:/files'
3. Click Save.
[!WARNING] Spacing matters This file cares about spaces. Every line that starts with a dash has to line up exactly with the one above it, using spaces, not tabs. When I saved mine, Coolify threw an error, and it was one line indented a little too far. If you get an error on save, look at the spacing first.
4. Give it an address
Coolify needs to know which web address opens Nextcloud.
1. Go to the Nextcloud service's settings in Coolify and find the domain field for the nextcloud service. 2. The simplest option is to keep the link Coolify fills in for you. If you have your own domain, put that in instead. Mine is https://nextcloud.lab.kooemma.com, which only works for devices signed in to my Tailscale ([more on custom addresses](/blog/build-your-own-homelabinstalling-apps-with-coolify)). 3. Click Save.
5. Deploy
Click Deploy. Coolify downloads Nextcloud, the database, and Redis (a small helper that makes it faster), then starts all three.
On a Raspberry Pi the first download takes a few minutes, so let the logs run. When you see the containers listed as Created and then Started, it's up.
6. Run the setup page
Open your Nextcloud address in the browser. You'll get a setup page with the Nextcloud logo.
1. Administration account: pick a username and a strong password. This is the login you'll use from now on, so save it in your password manager. 2. Click Storage & database to open it. 3. Data folder: leave it as /data. That's the folder you made in step 1. 4. Database: click PostgreSQL. 5. Database user, password and name: copy these from Coolify. They're on the Nextcloud service page under Service configuration (PostgreSQL User, PostgreSQL Password, Database Name). 6. Database host: type nextcloud-db. 7. Click Install.
[!NOTE] If you get "connection refused" The first time, I left the database host as localhost and the setup page failed with a connection refused error. The database runs in its own container, so the host has to be the database's name, nextcloud-db, not localhost.
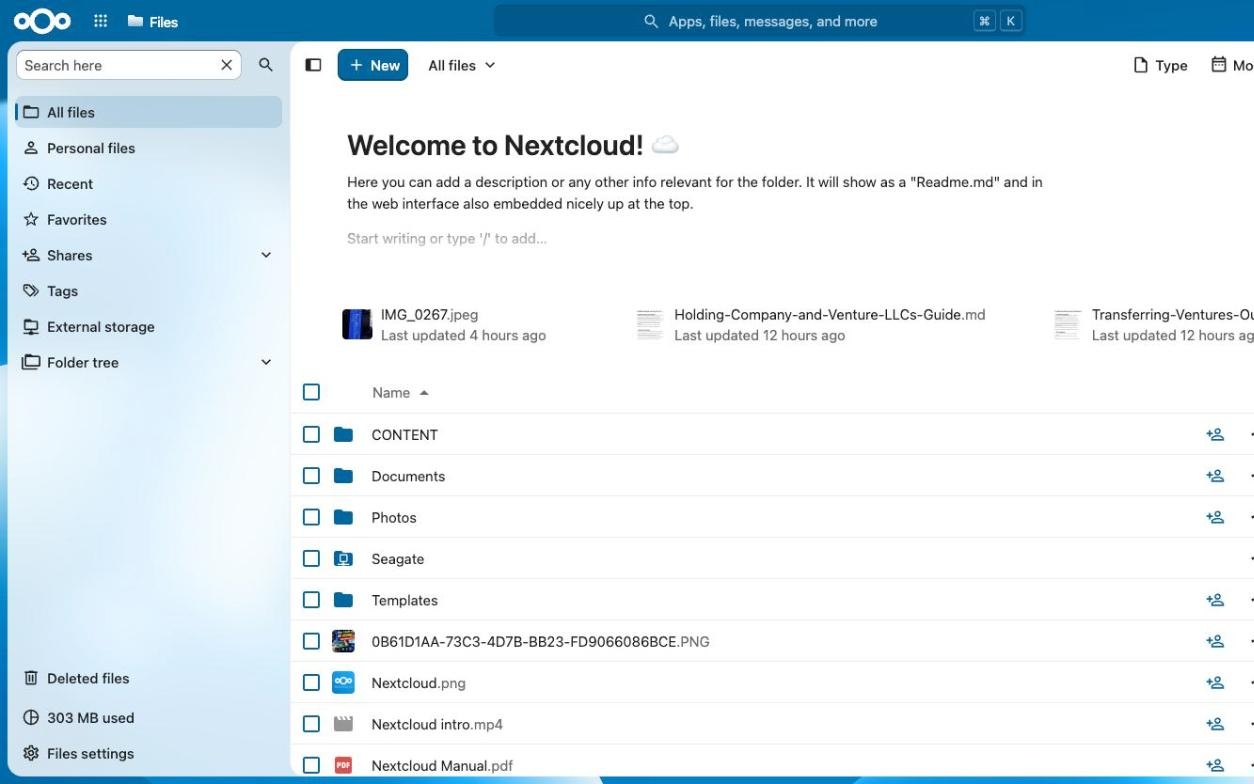
Give it a minute. When it finishes you land on the Nextcloud dashboard. That's your own Google Drive.
7. Fix the health check
Coolify checks that Nextcloud is healthy by opening it from inside the server, as localhost. Nextcloud only answers to addresses it trusts, so it needs localhost added to that list, or Coolify keeps marking it unhealthy.
In your homelab terminal, find the Nextcloud container's name: