How I Built My AI Homelab (Raspberry Pi 5)
In my [last post](/blog/my-first-ai-homelab-build), I talked about why I wanted an AI homelab. Everything I worked on lived on one external hard drive, and I wanted something that's always running and that I can reach from anywhere.
Well, this is it. It's up and running on my desk.
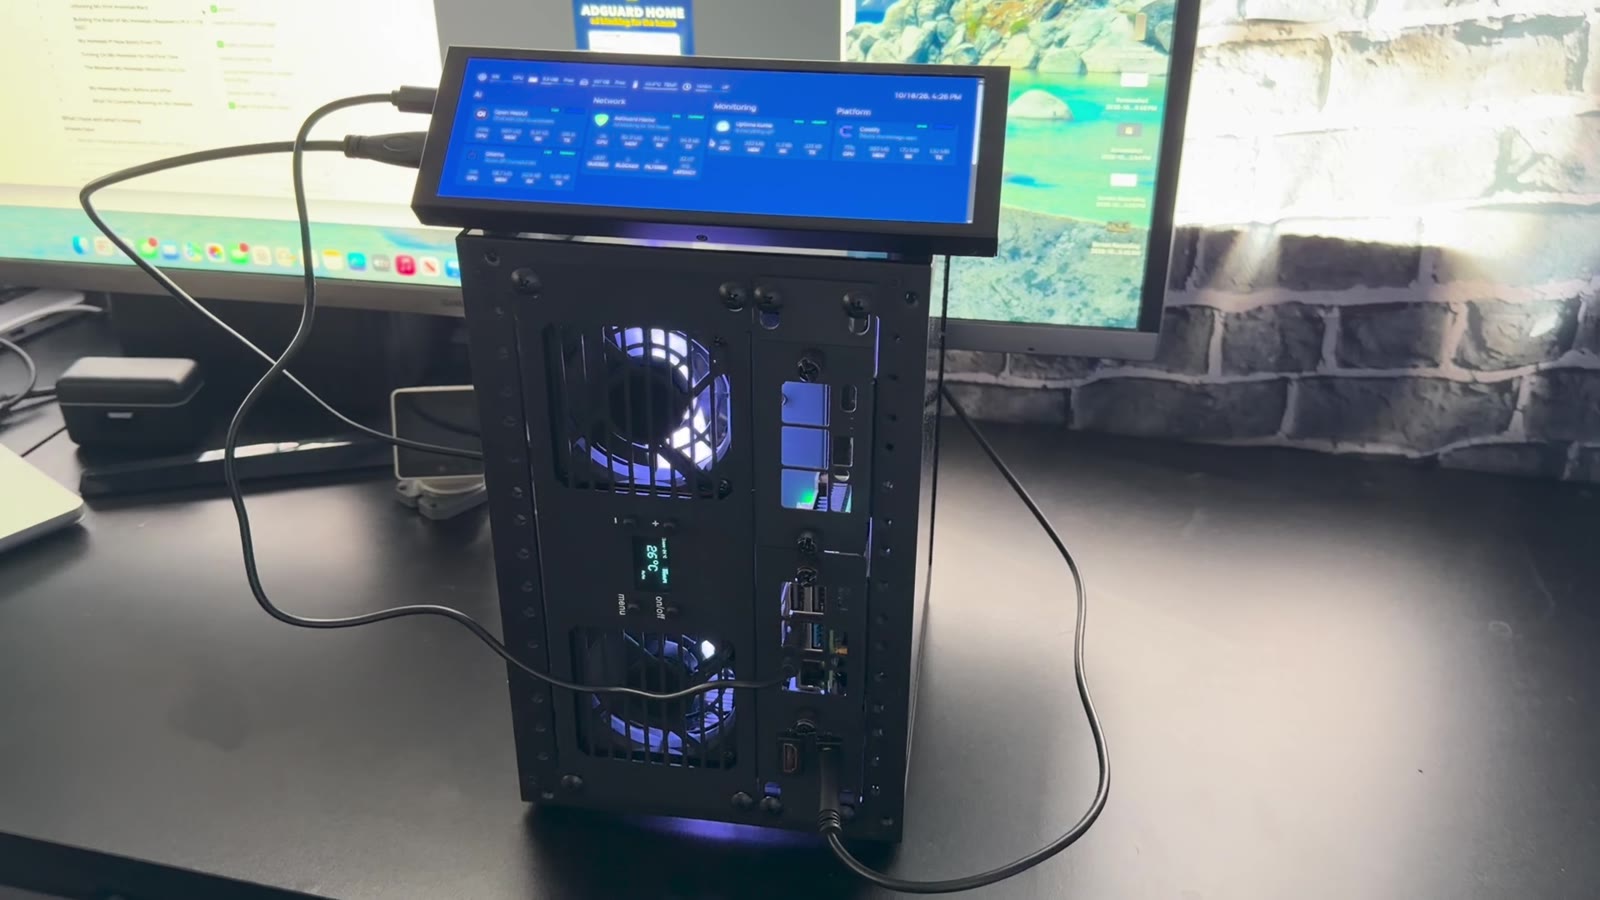
This post is the story of how I built it, from the empty box to the first time it turned on, and everything I set up on it. It goes with the video above. If you want to build one yourself, I also wrote a [full step-by-step guide](/blog/build-your-own-homelab) with every command and every part.
The plan
Before I started building, I worked out how everything would connect.
My internet comes from Cox into my router. From the router it goes to a switch, and the switch connects to the main server, which is a Raspberry Pi 5 with 8 GB of RAM and a 1 TB SSD.
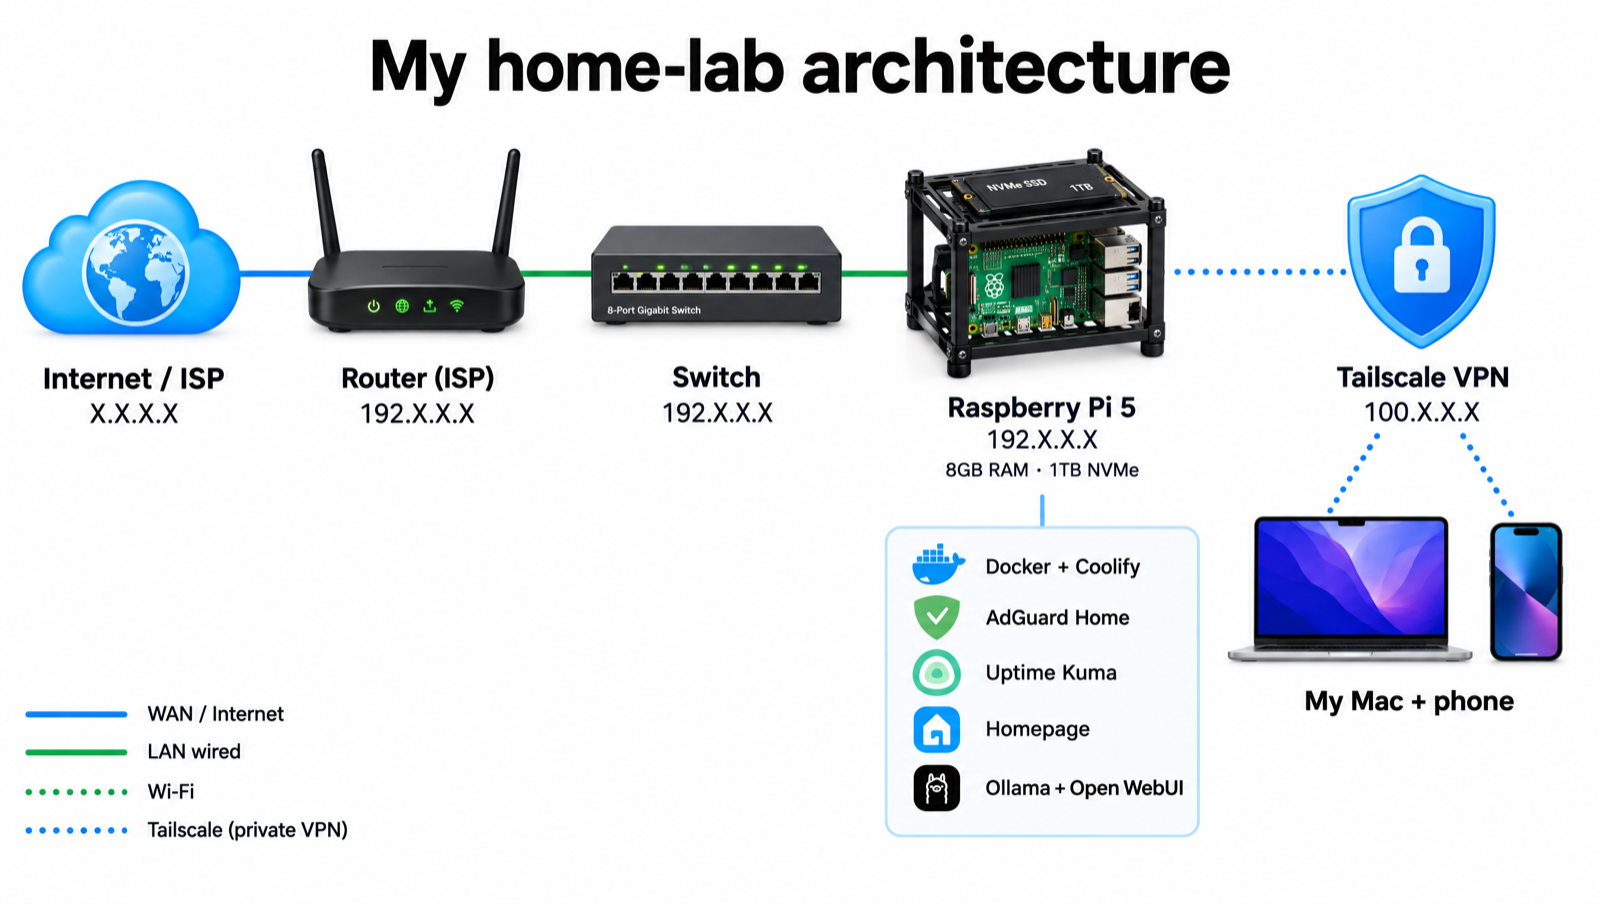
On the Pi, everything runs in Docker, and I use Coolify to install and manage my apps. Right now that's:
- AdGuard Home to block ads for the whole house - Uptime Kuma to tell me when something's down - Homepage as my dashboard - Ollama with Open WebUI, which is my own AI
To reach these apps from my phone or my laptop, I use Tailscale. It creates a private connection between my devices and the server, so I can open my apps from anywhere, and nobody else on the internet can get to them.
The unboxing
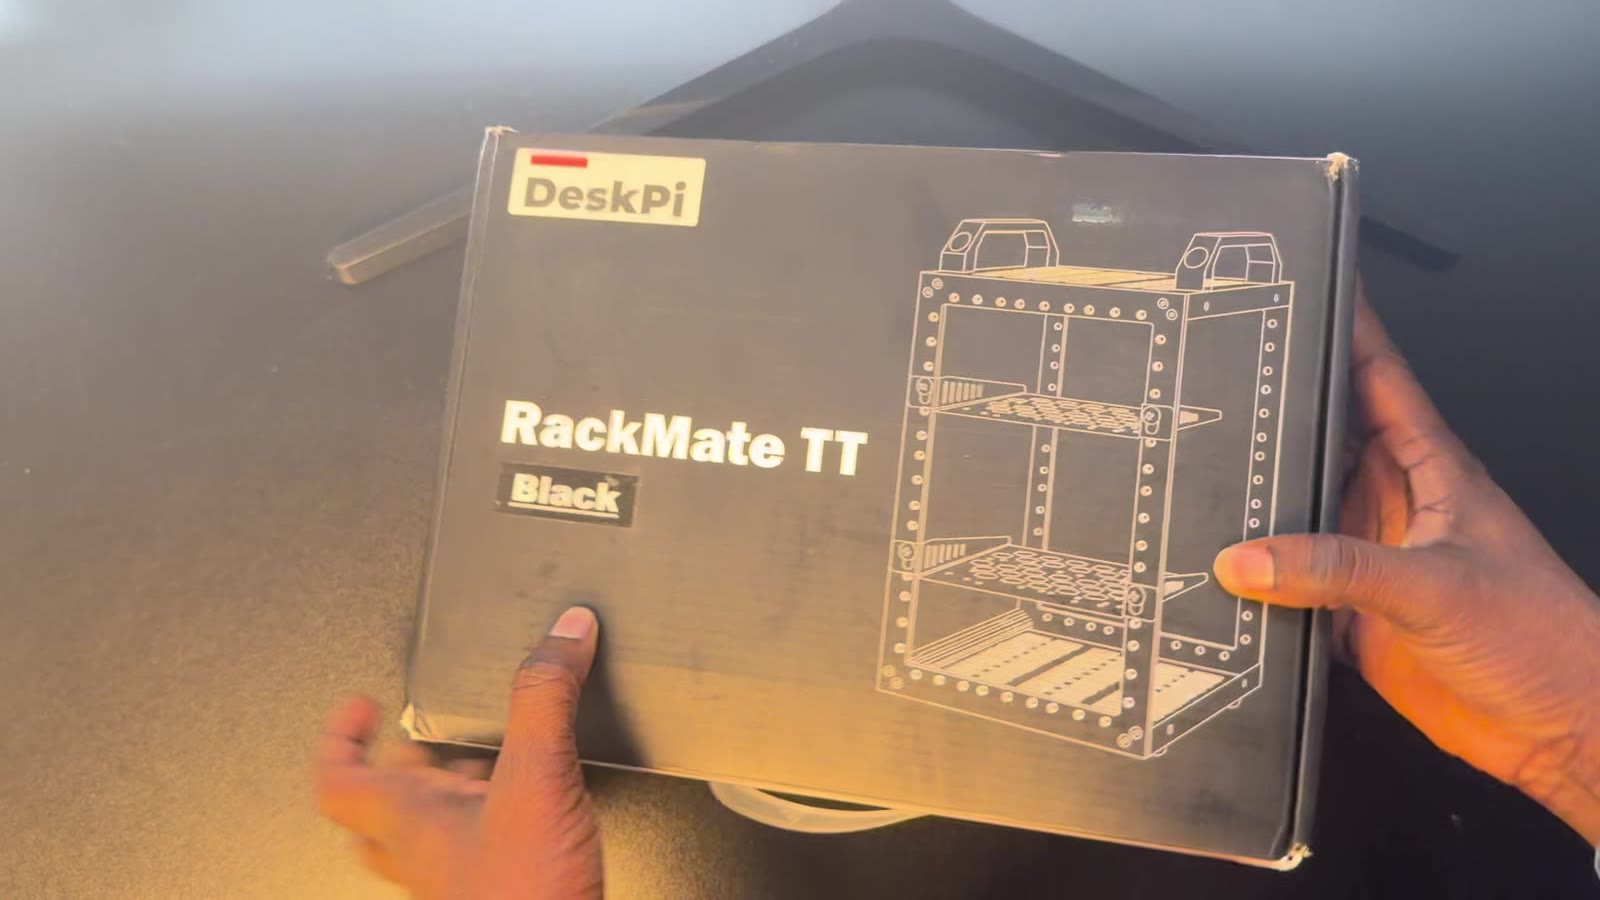
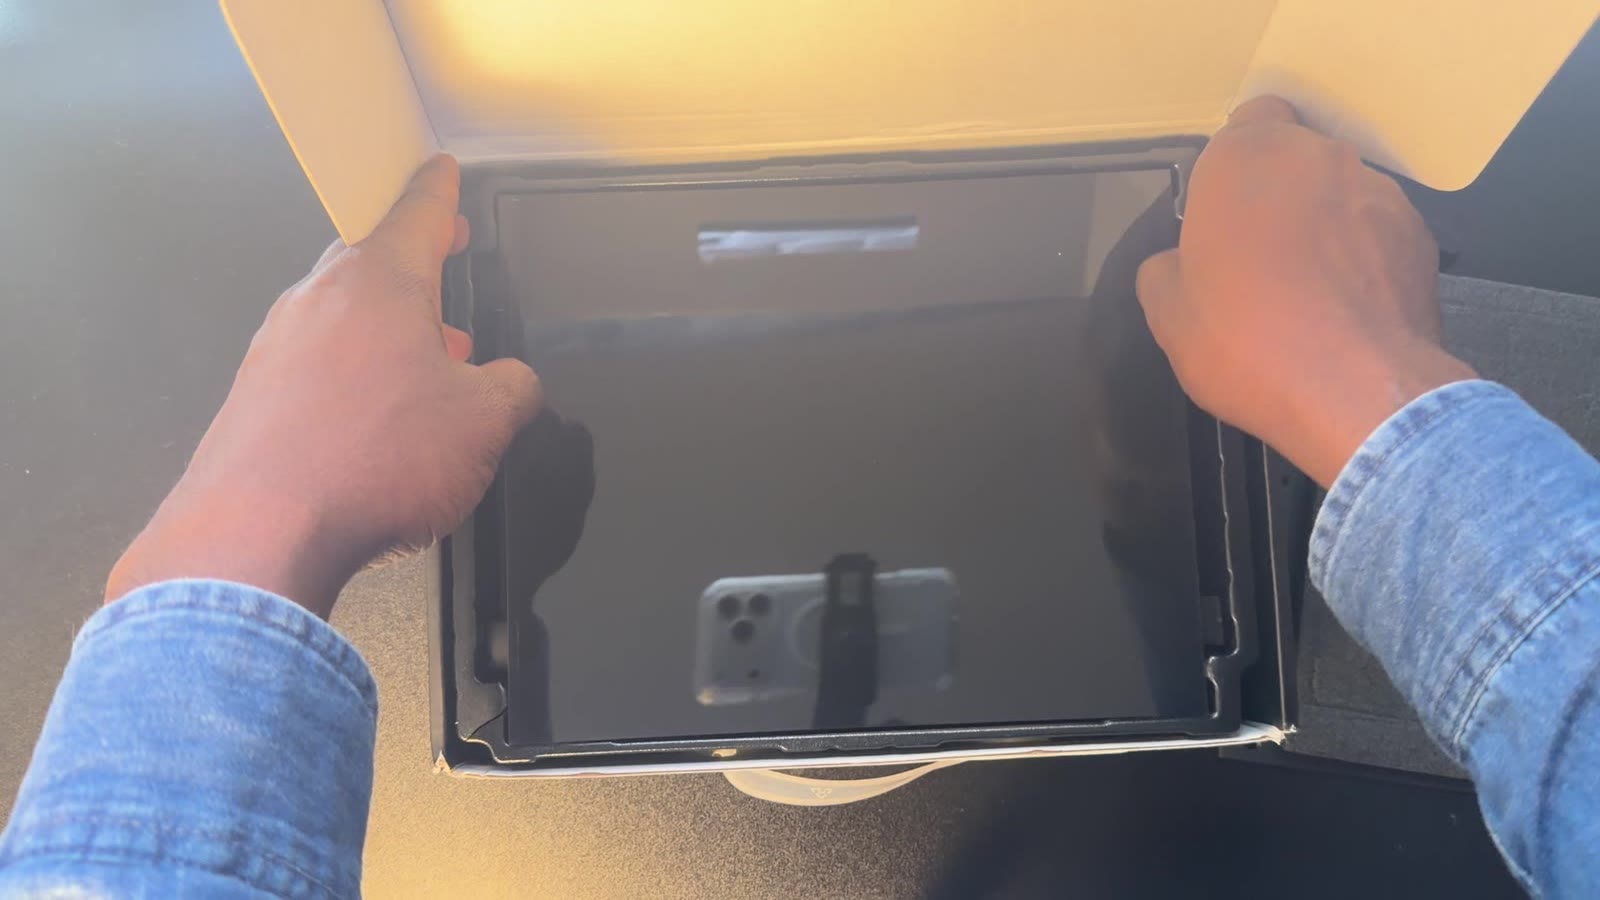
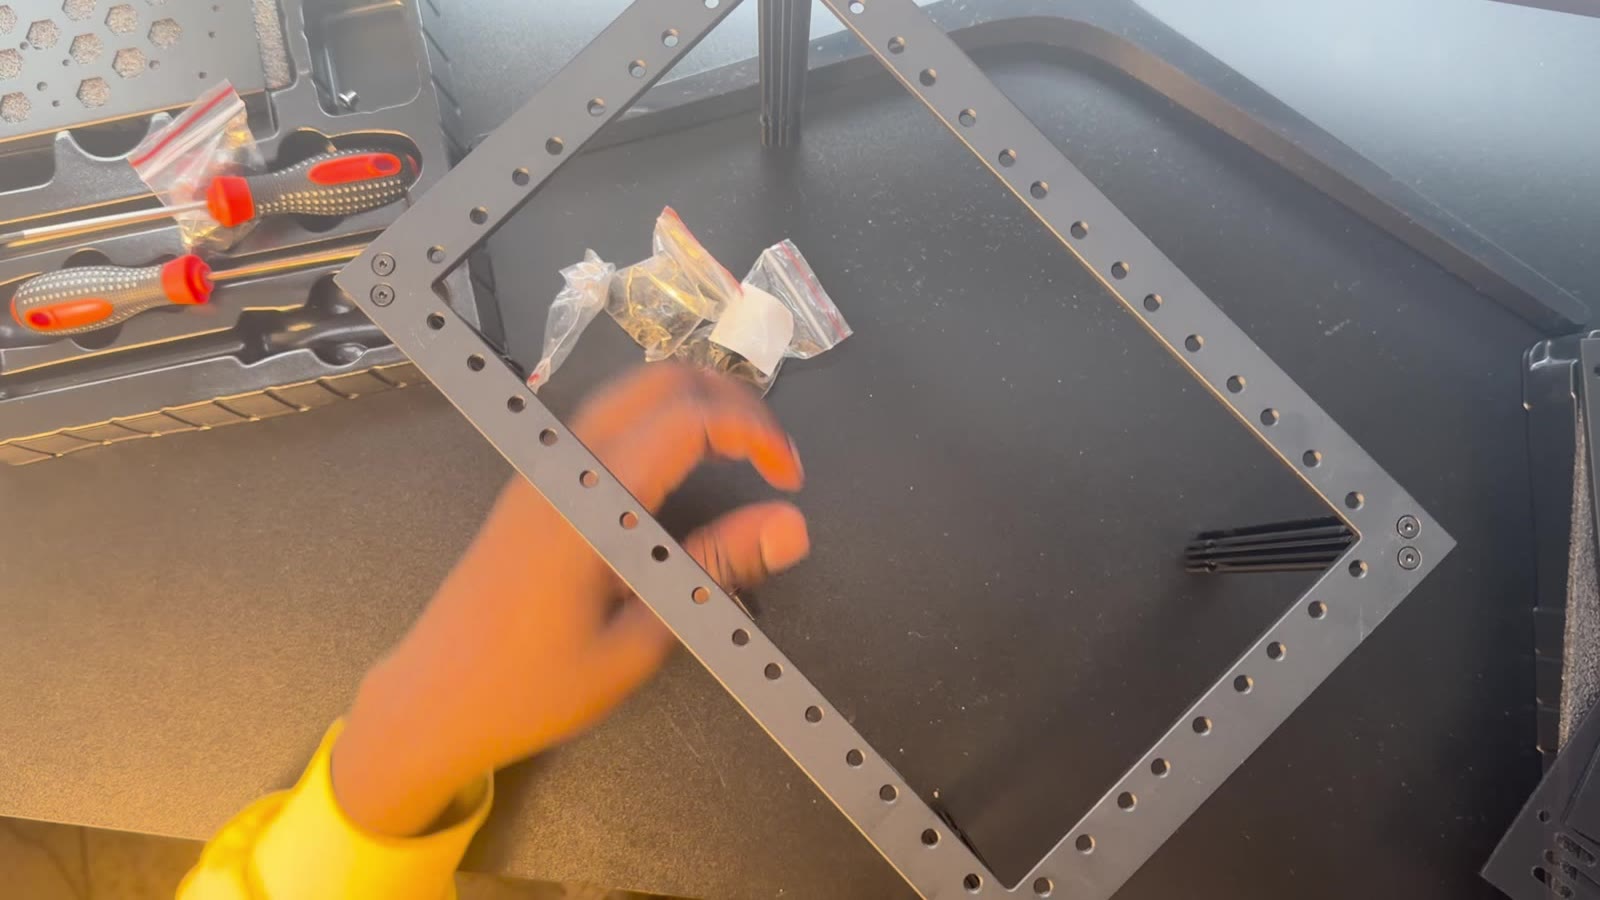
The first thing I needed was somewhere to put it all. I went with the DeskPi RackMate TT, a small 10-inch rack. It came with way more parts than I expected: rails, panels, shelves, a whole tray of screws, and even its own screwdrivers.
Building the rack
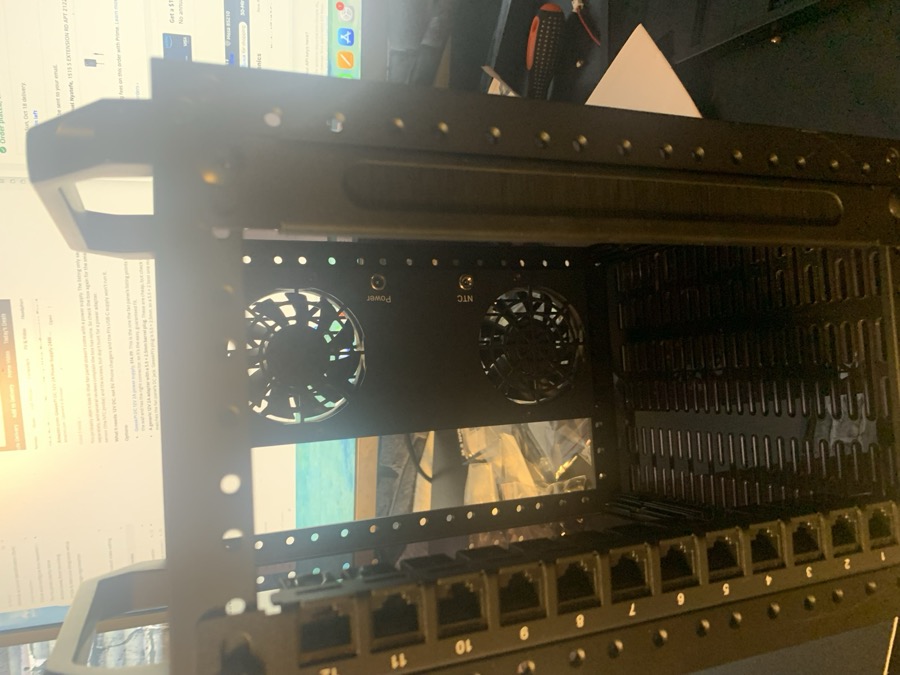
Putting it together took me about forty minutes. It's mostly rails and screws, and once the frame is square, the rest goes pretty quickly. I added a fan panel at the back to keep things cool, and a patch panel at the front for the network cables.
Building the Raspberry Pi
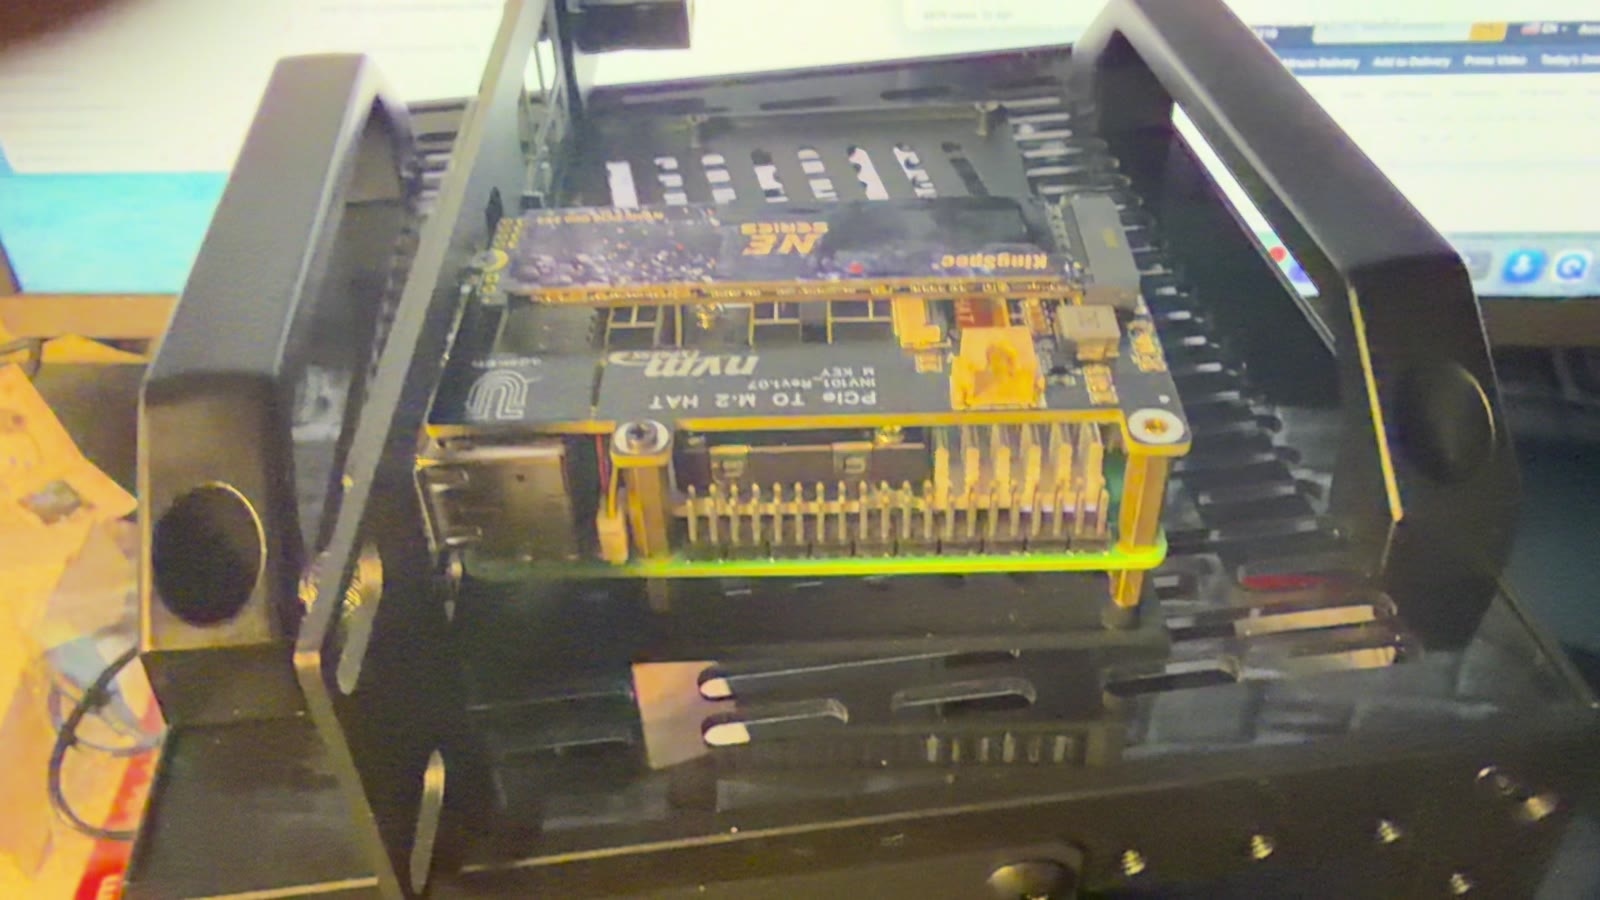
Then the most important part, the Pi itself. I put the cooler on first, because once everything else is stacked on top you can't really get to it. On top of that goes an NVMe board, and that's where the 1 TB SSD plugs in. It connects to the Pi with a small ribbon cable, which I was very careful with.
Then I mounted the whole thing on a shelf and slid it into the rack.
First boot
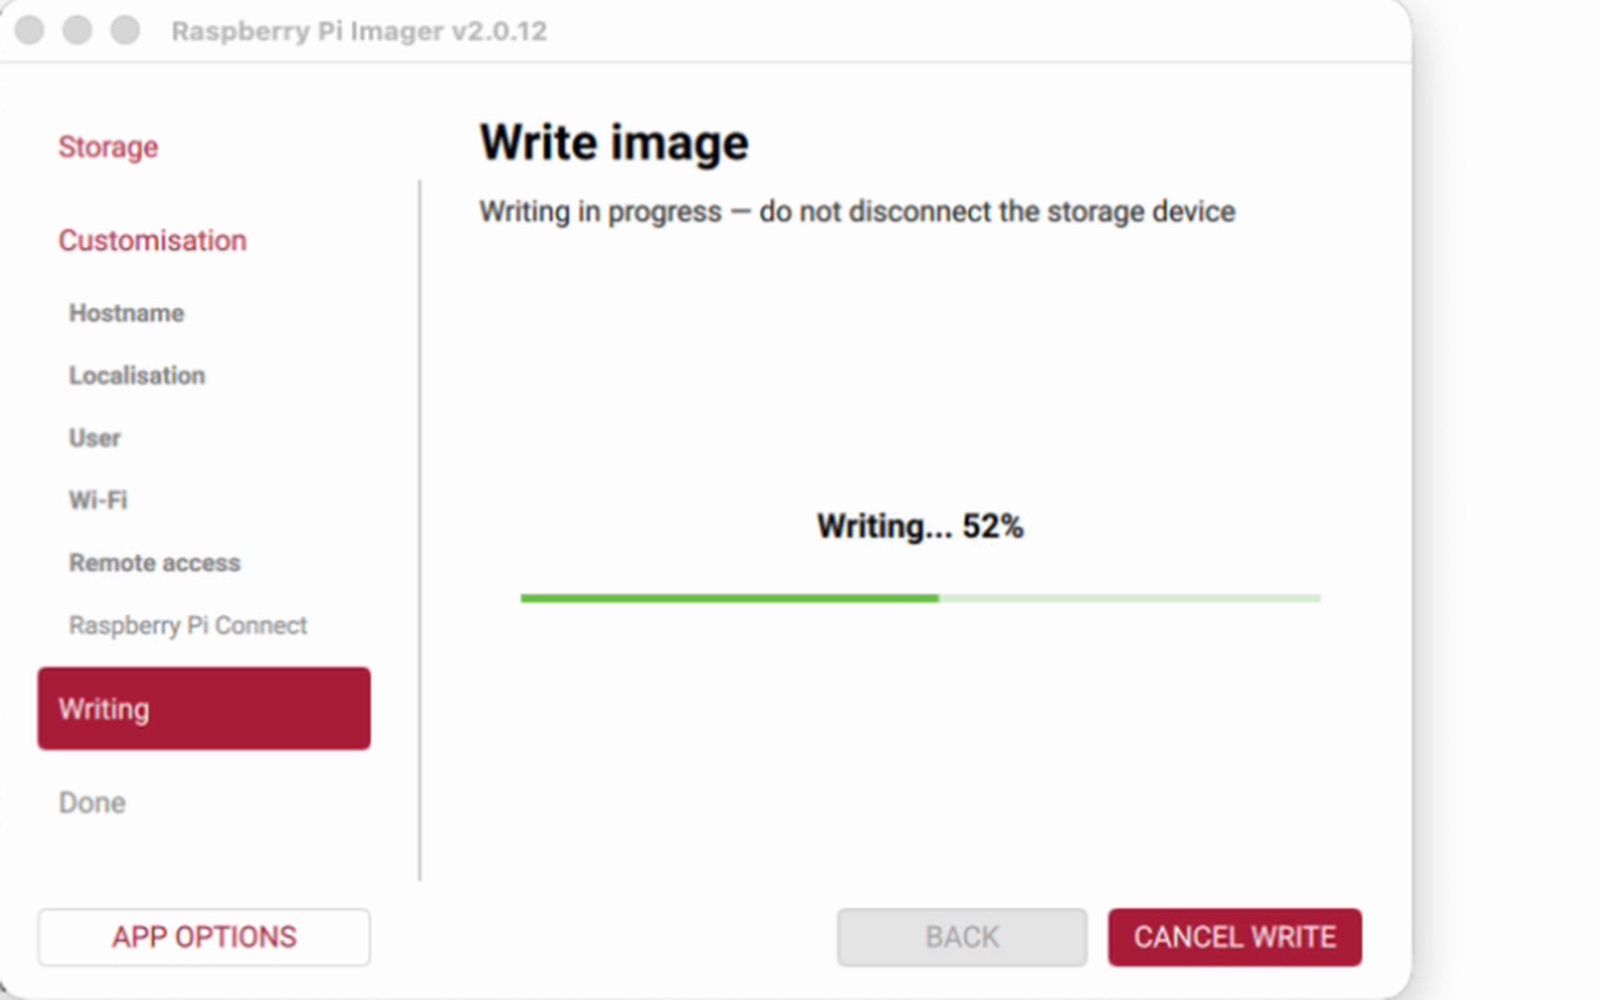
To get it running, I flashed Raspberry Pi OS onto a microSD card from my Mac using Raspberry Pi Imager. I set the name, my login and the Wi-Fi ahead of time, so I never needed a keyboard or a screen plugged into it. Then I just plugged it in and logged in from my laptop.
Moving to the SSD
The microSD card is only there to get things started. SD cards are slow and they wear out, so I copied the whole system over to the SSD. That took about twenty minutes. Then I told the Pi to start from the SSD instead.
And when I restarted it, nothing happened. Only a red light. I honestly thought I'd broken something. It turned out the Pi was just sitting in standby, waiting for me to press the power button. Now it runs entirely from the 1 TB drive, and it's a lot faster.
[!TIP] If you see only a red light After switching to the SSD, a solid red light usually means the Pi is in standby, not broken. Press the power button once and give it a minute.
Setting it all up
Next I installed Docker, and then Tailscale so I could reach the Pi from anywhere.
Then Coolify. This is what lets me install and update apps from a web page, without typing commands every time. It also gives each app its own address on my domain, with a proper padlock.
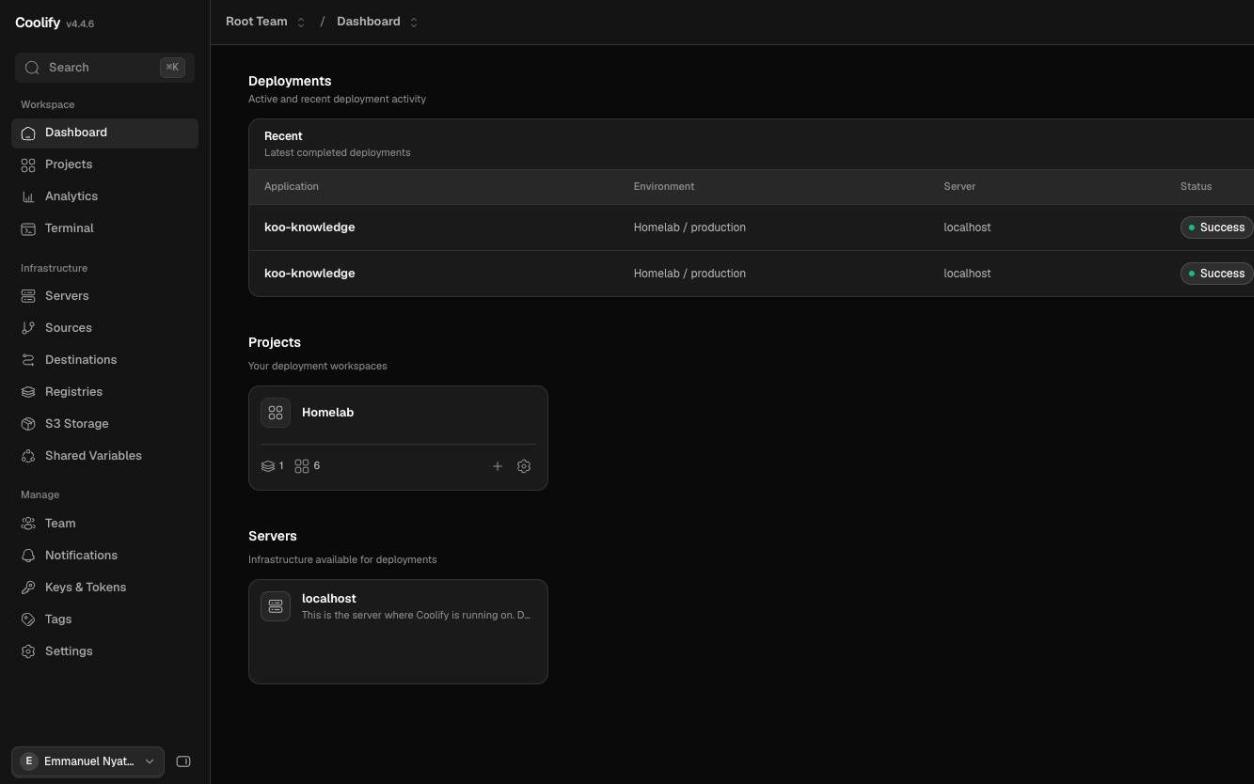
Getting that part working took a while. I saw "no available server" and "bad gateway" more times than I'd like to admit. But each time it was something small, like a setting I'd saved but hadn't restarted yet.
How it all comes together
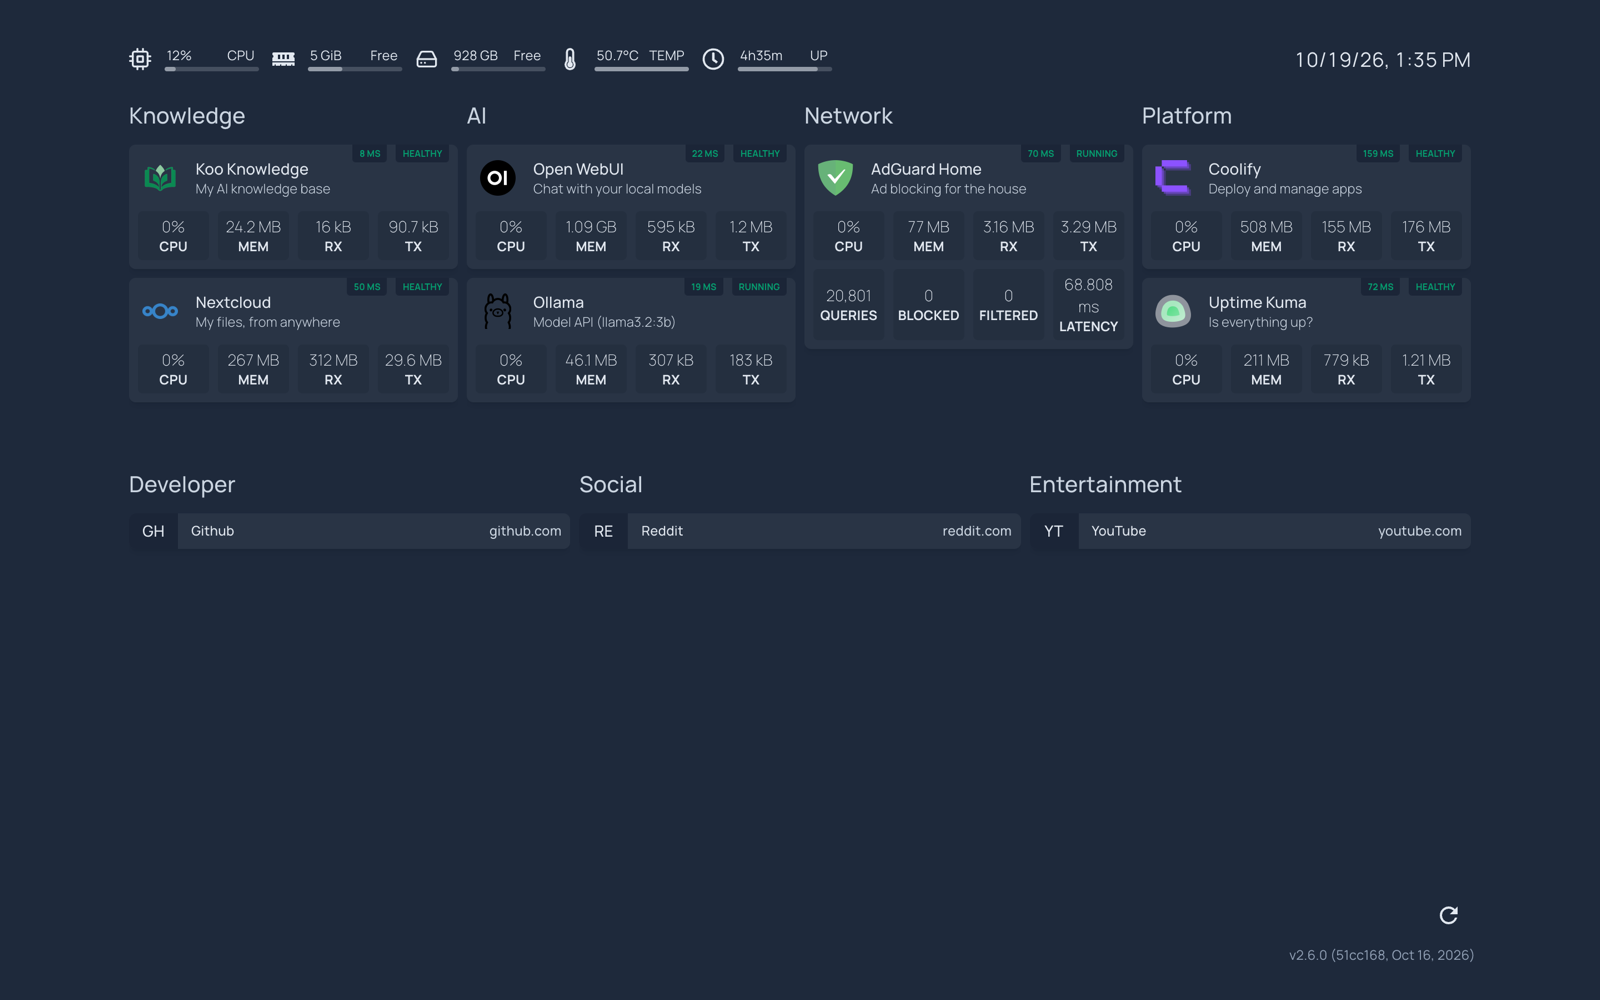
The screen on top of the rack shows my dashboard: every app, how much memory it's using, the temperature, everything at a glance. It even waits for all the apps to start before it shows up, so I don't get an error screen when it reboots.
What I learned
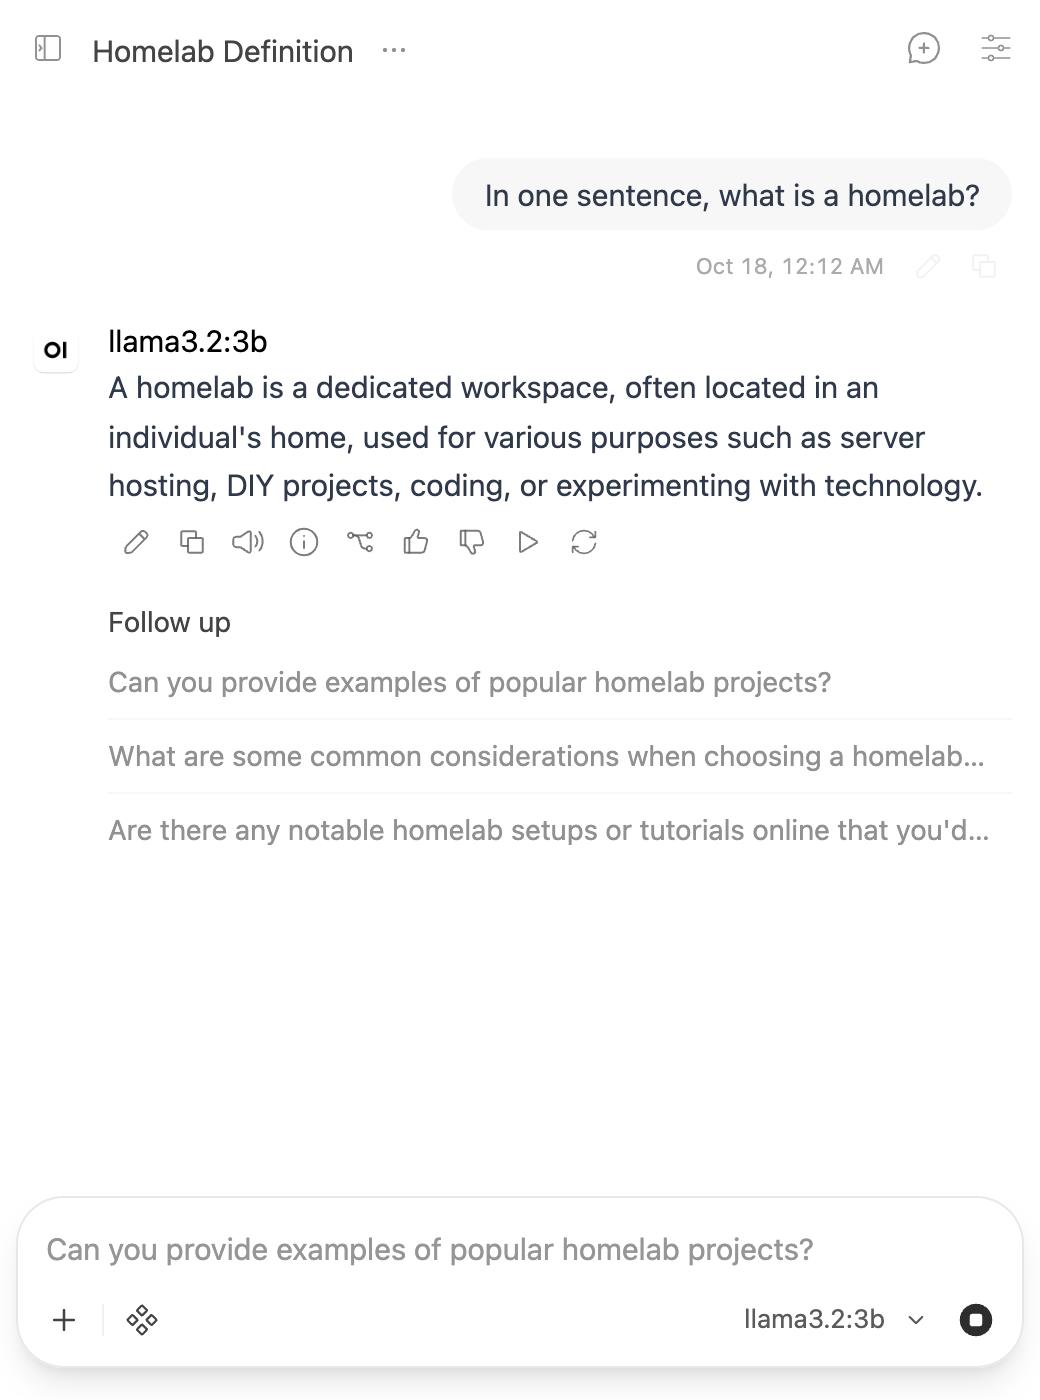
A Raspberry Pi is great as the brain of a homelab, but it's not a powerful AI machine. My local AI works, but it takes its time. That's fine for now. The Pi is the controller, and later I can add more power when I need it.
Overall, I've learned more in these few days than I expected. Networking, Docker, domains, all things I only half understood before.