How to Connect Cursor to Blender with Blender MCP
Want to control Blender from Cursor using natural language? Blender MCP gives Cursor a bridge into Blender so an AI agent can inspect your scene, create objects, edit materials, run Blender Python, and make real changes inside your file.
In this guide, I'll walk through the full setup: installing Blender, installing Cursor, adding uv, configuring Cursor's MCP server, enabling the Blender add-on, and testing the connection.
What Blender MCP Is
Blender MCP is made of two pieces:
1. A local MCP server that Cursor runs on your machine. 2. A Blender add-on that listens inside Blender and applies the edits Cursor requests.
Cursor talks to the MCP server, the MCP server talks to Blender, and Blender updates your scene.
Prerequisites
Before you start, install these:
- [Blender](https://www.blender.org/download/) - [Cursor](https://www.cursor.com/downloads) - uv, which provides the uvx command Cursor will use to launch Blender MCP - The Blender MCP add-on from the [Blender MCP GitHub repository](https://github.com/ahujasid/blender-mcp)
Step 1: Install Blender
Go to the official Blender download page, download the installer for your operating system, run it, and open Blender once after installation.
If Blender already opens normally on your machine, you can skip this step.
Step 2: Install Cursor
Next, download Cursor from the official Cursor website, install it, and open it once.
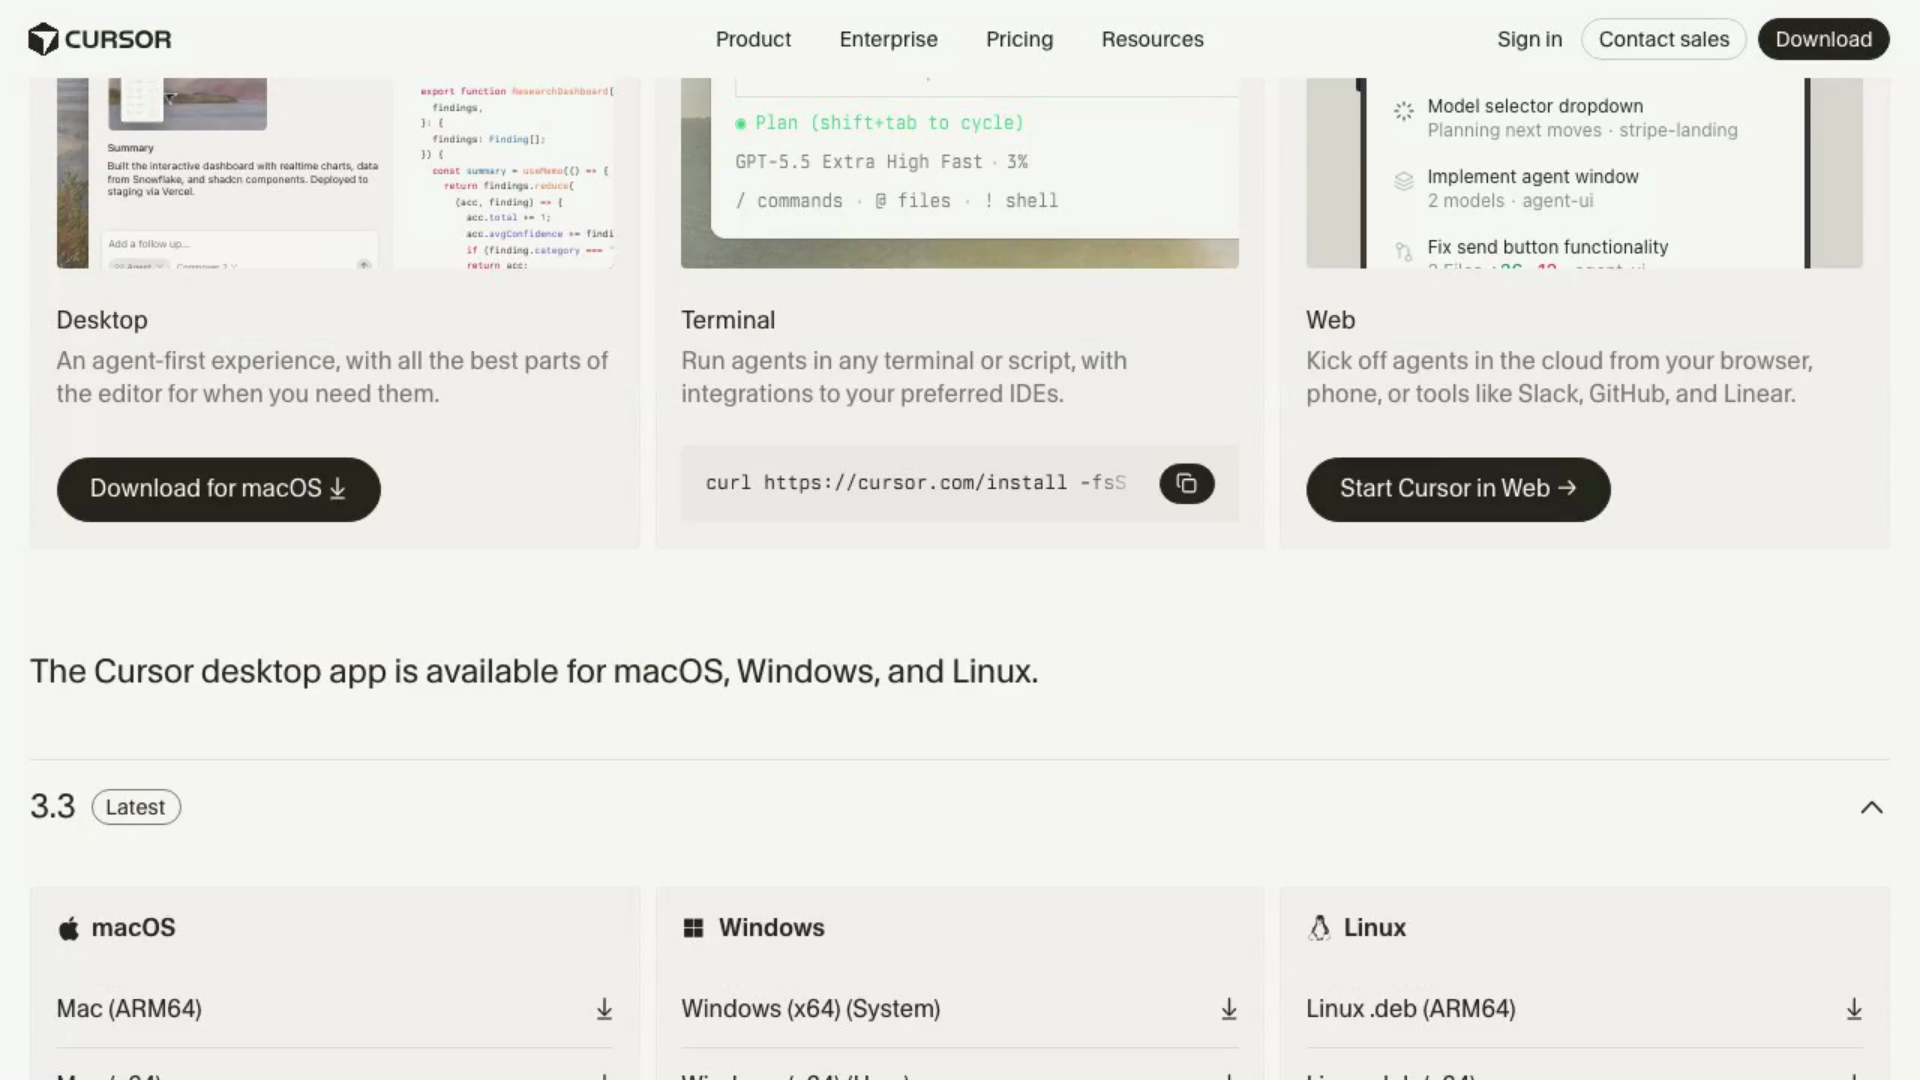
If Cursor is already installed, make sure it is up to date. The MCP settings area may not appear in older versions.
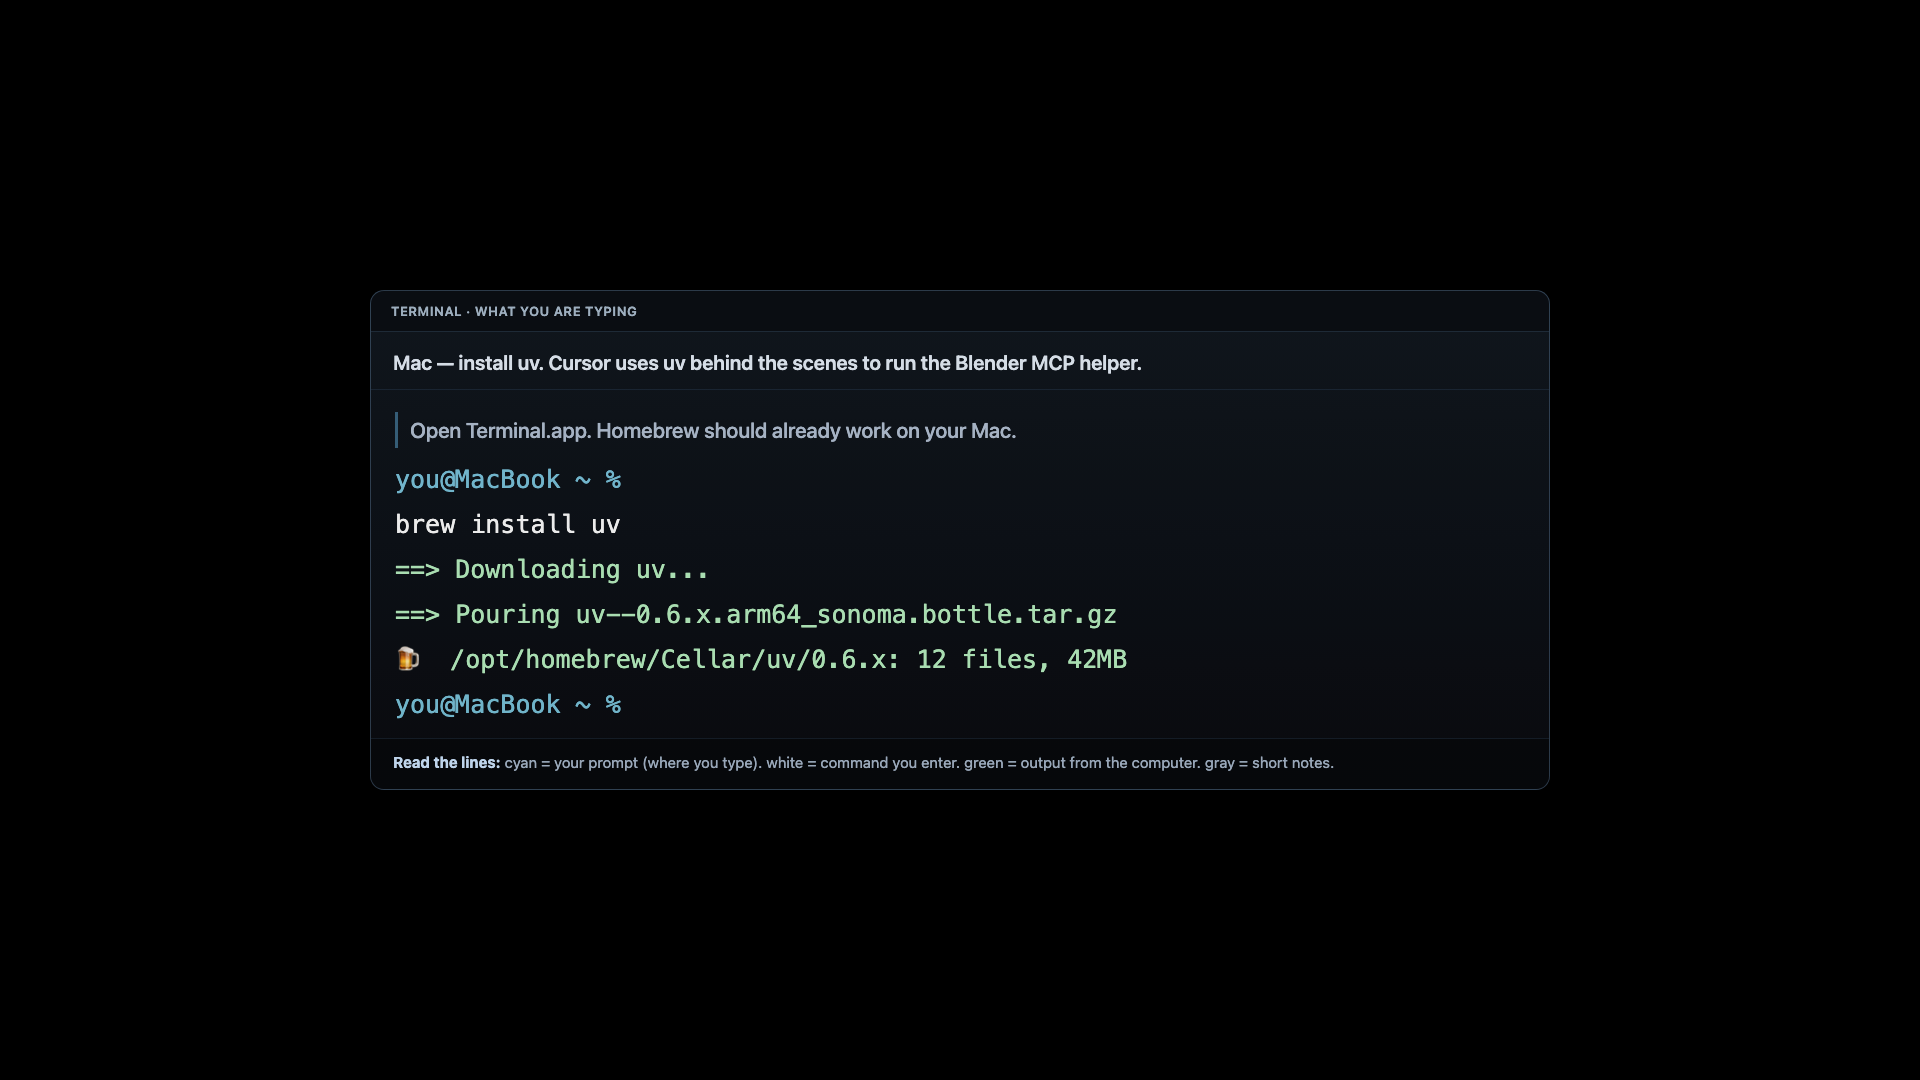
Step 3: Install uv
Cursor will launch Blender MCP through uvx, which comes from Astral's uv tool.
On macOS, open Terminal and run:
bash brew install uv
Then confirm uvx exists:
bash which uvx
You should see a path like:
bash /Users/you/.local/bin/uvx
On Windows, open PowerShell and run:
powershell irm https://astral.sh/uv/install.ps1 | iex
Then confirm uvx.exe exists:
powershell where.exe uvx
You should see a path like:
powershell C:\Users\You\.local\bin\uvx.exe
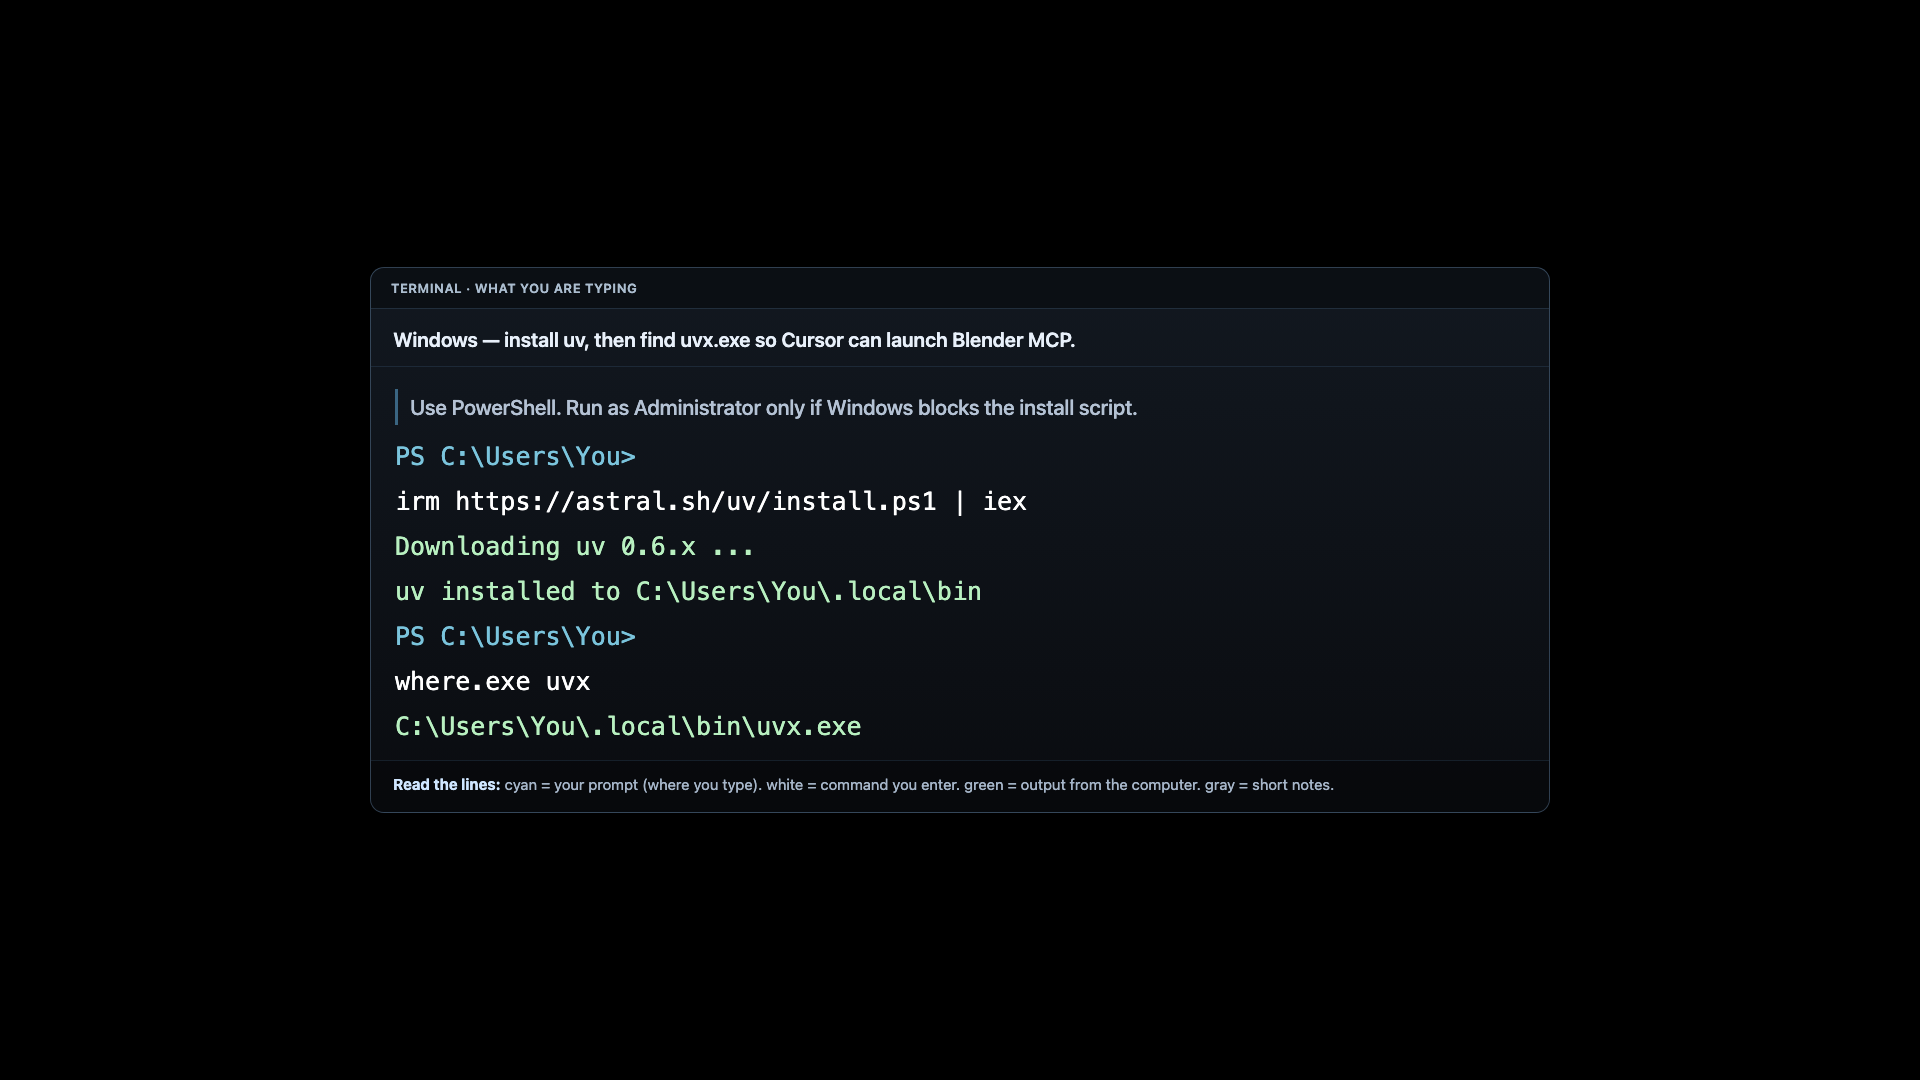
Keep this path handy. If Cursor cannot find uvx automatically, you can paste the full path into the MCP config.
Step 4: Open Cursor MCP Settings
In Cursor, open Settings and look for Tools & MCP in the sidebar.
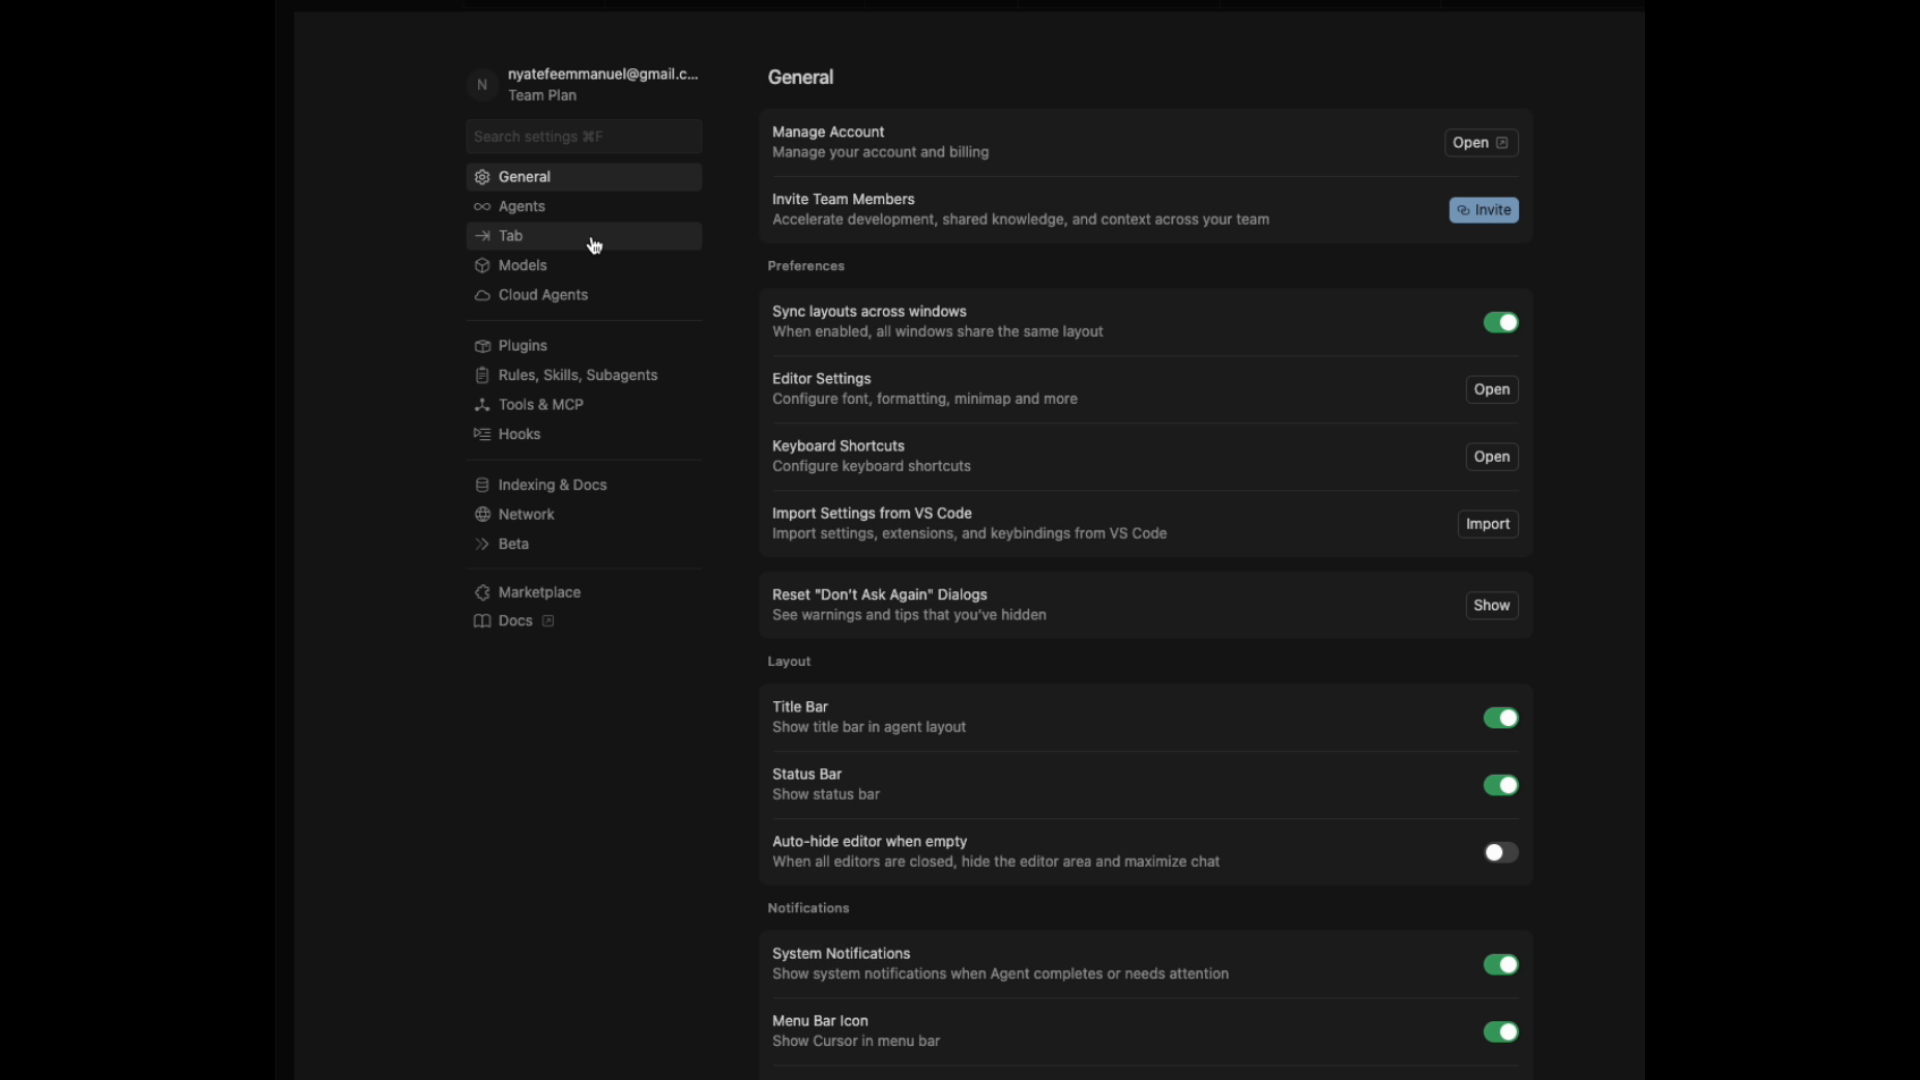
This is where Cursor lists MCP servers. For this setup, we'll edit the MCP JSON file directly.
Step 5: Add Blender MCP to mcp.json
Open Cursor's MCP config file:
text ~/.cursor/mcp.json