My First AI Homelab Build: Why I’m Moving My AI Off a Hard Drive
For a long time, the most important part of my work lived on one Seagate external drive. My files, my videos, and the knowledge base I built for my AI agent all sat on that one drive, and I carried it everywhere.
It worked fine at first. But the more I built, the more I depended on it. If I left it at home, I couldn't work. If I plugged it into the wrong computer, it acted up. A couple of times files got corrupted and I had to rebuild my knowledge base from scratch. Then one day my Mac just stopped reading it. I plugged it in and nothing showed up.
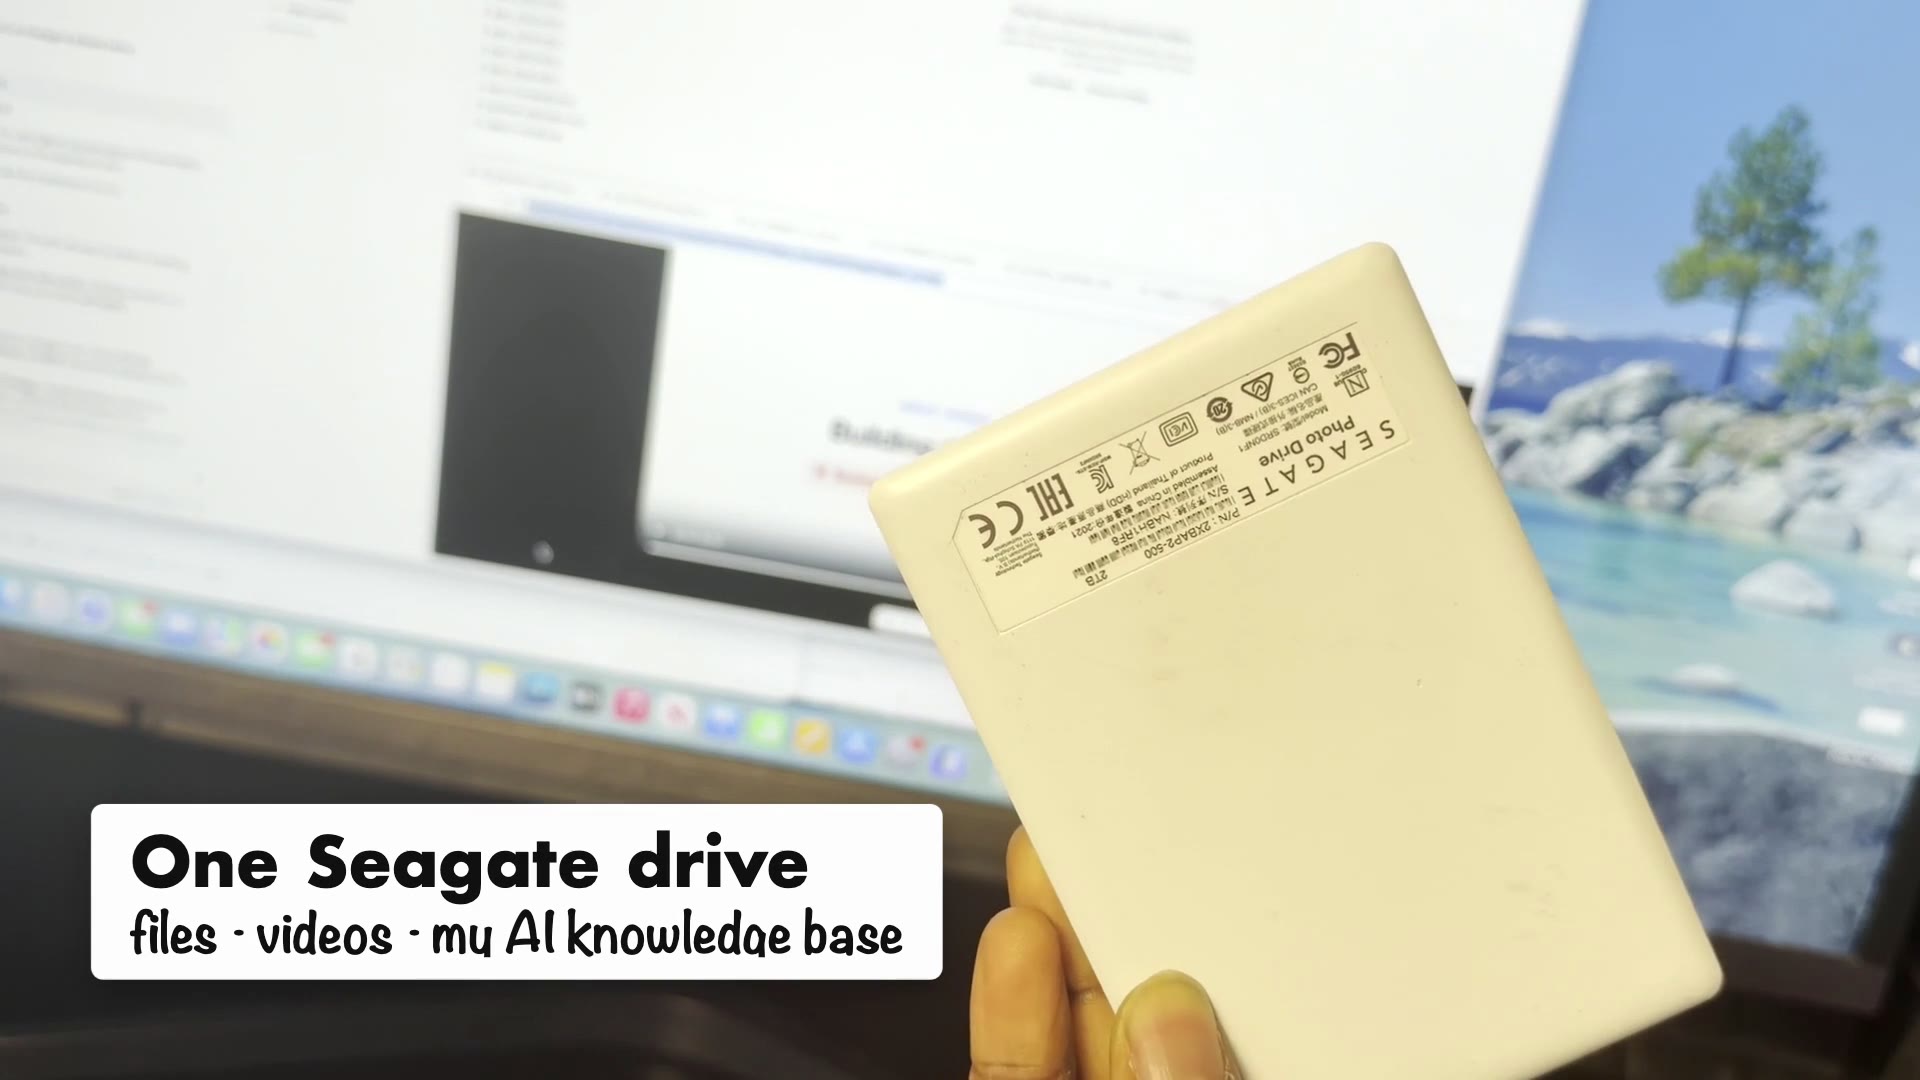
That's when it hit me. I was keeping the most important part of my work on the one thing that was most likely to get lost or break.
So I'm building a homelab. This post is the story behind the first episode of the series, and a bit about how I made the video.
Why not just use the cloud?
That was my first thought too. For regular files, the cloud is great. But my setup isn't just files.
I have an app that needs to run, and a knowledge base that AI agents connect to and search through. Cloud storage can hold my files, but it can't run my app for me. I could rent a server, but then I'm paying every month and my data is sitting on someone else's computer.
I wanted something in the middle. Something that's mine, that runs my stuff, and that I can still reach from anywhere.
What a homelab actually is
I ended up on r/homelab and found a whole community of people building these. Some had a full rack of equipment in a closet, some had a single small computer on a shelf. People were running Pi-hole to block ads across their whole Wi-Fi, Jellyfin to stream their own movies, Immich to back up their phone photos, Home Assistant to control their lights, and more and more of them were running AI models at home.
In its simplest form, a homelab is a computer (or a few) set up at home to run things for you. The difference is that you control everything on it. It's kind of like having your own private cloud, except it's sitting in your room.
Why it matters for AI
AI agents are getting really good at using tools and doing things for you. But if I want them to work with my own notes and documents, my stuff needs to live somewhere they can always reach. Right now it's on a hard drive. If my laptop is asleep or the drive is unplugged, my AI can't reach any of it.
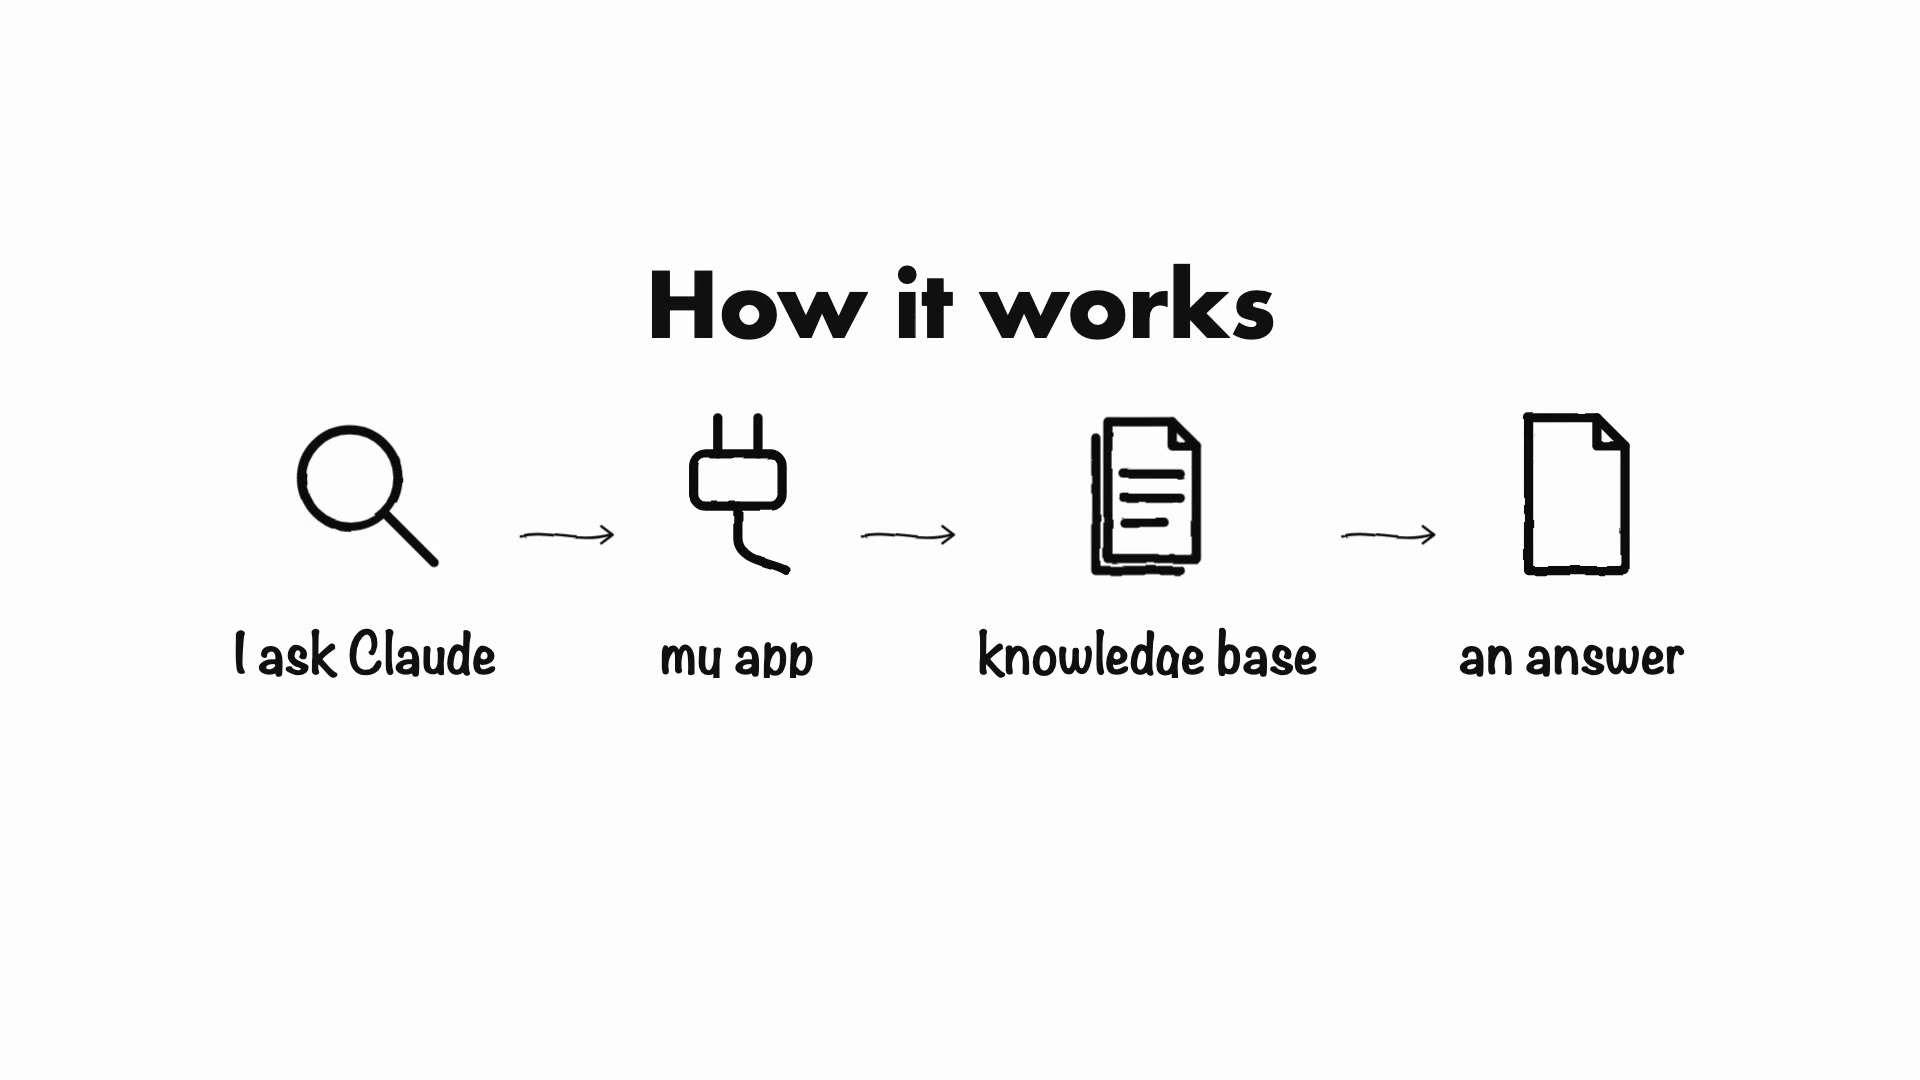
I built an app that connects AI agents to my knowledge base. It uses MCP (Model Context Protocol), which is basically a way for AI tools like Claude to talk to apps like mine. When I ask Claude something, it goes through my app, searches my knowledge base, and comes back with an answer based on my own documents. It only sees the parts I choose.
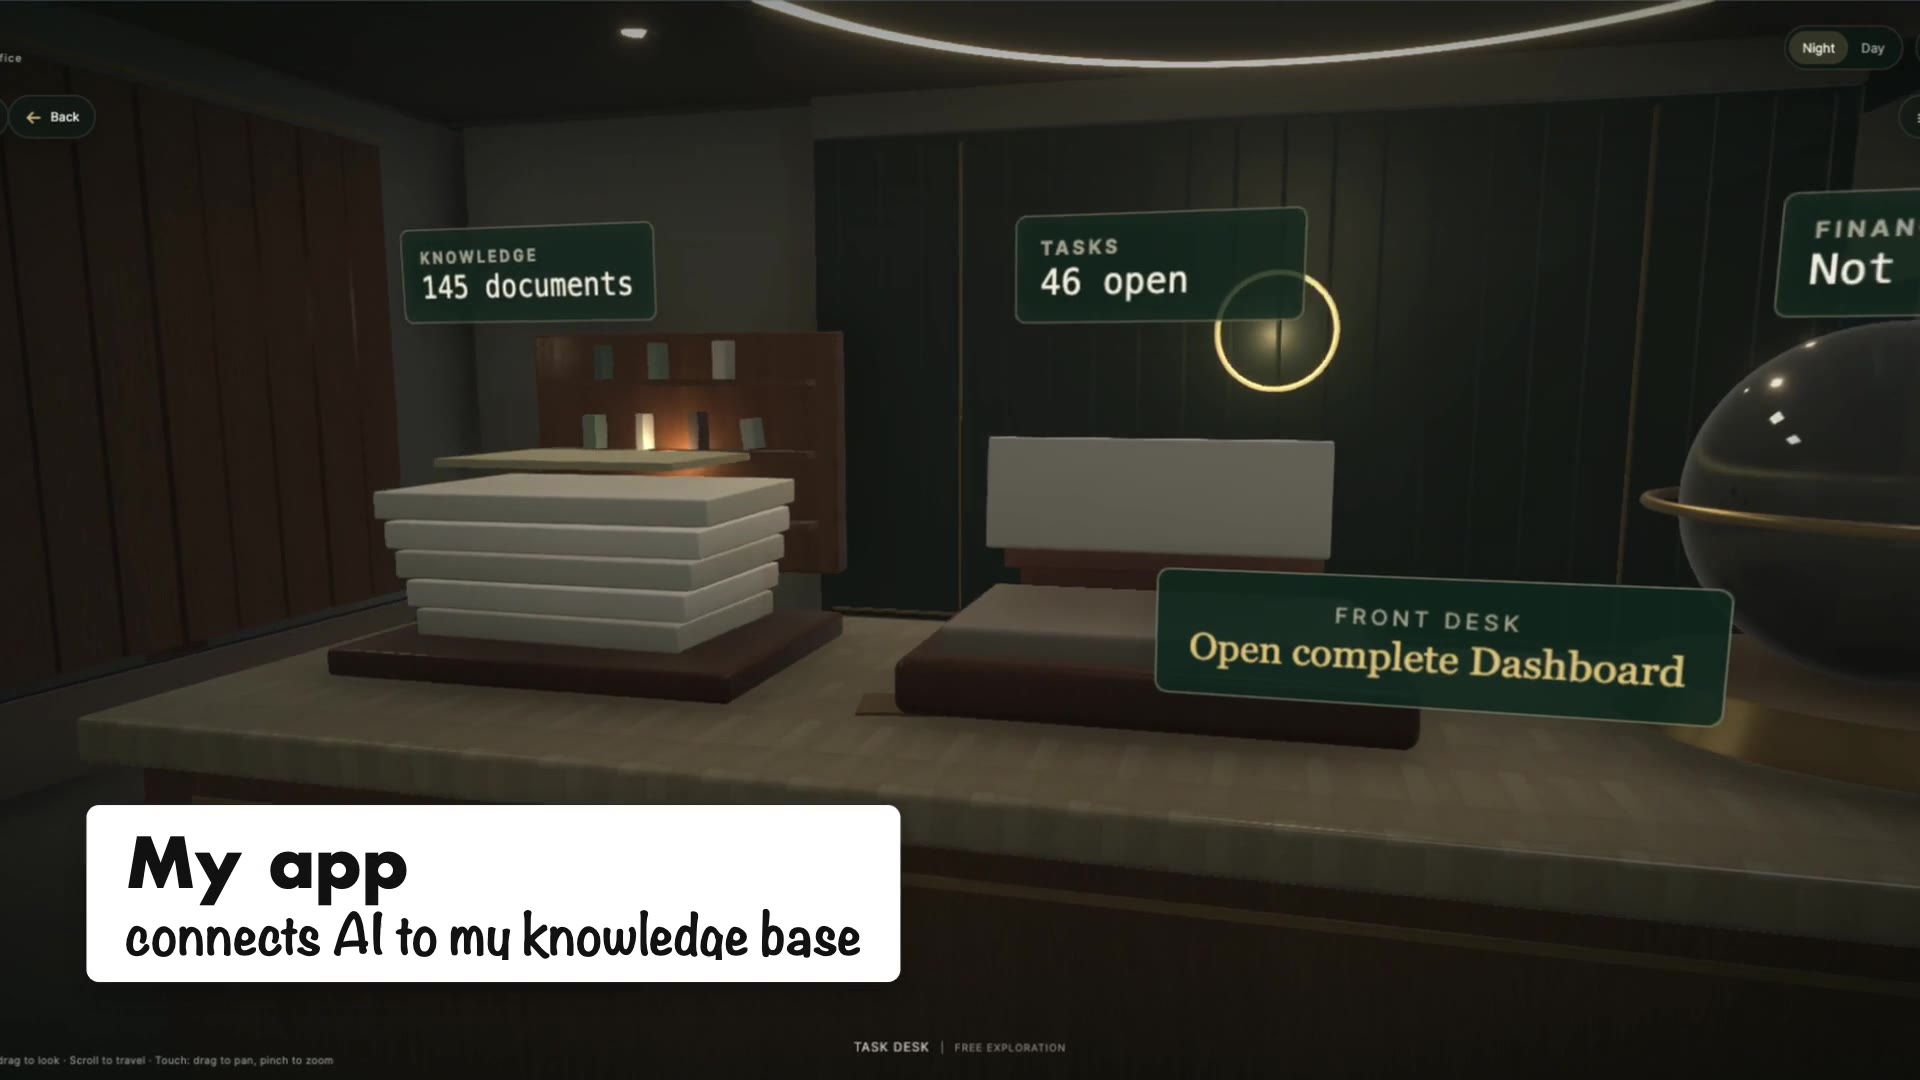
The plan is to move all of that into the homelab, so it's always running and I can use it from anywhere.
What I bought
You really don't need much to start. An old laptop or desktop works. All you need is a computer that can stay on, some storage, and a network connection. I went with a small setup I can grow over time, and spent about $1,500 all in.
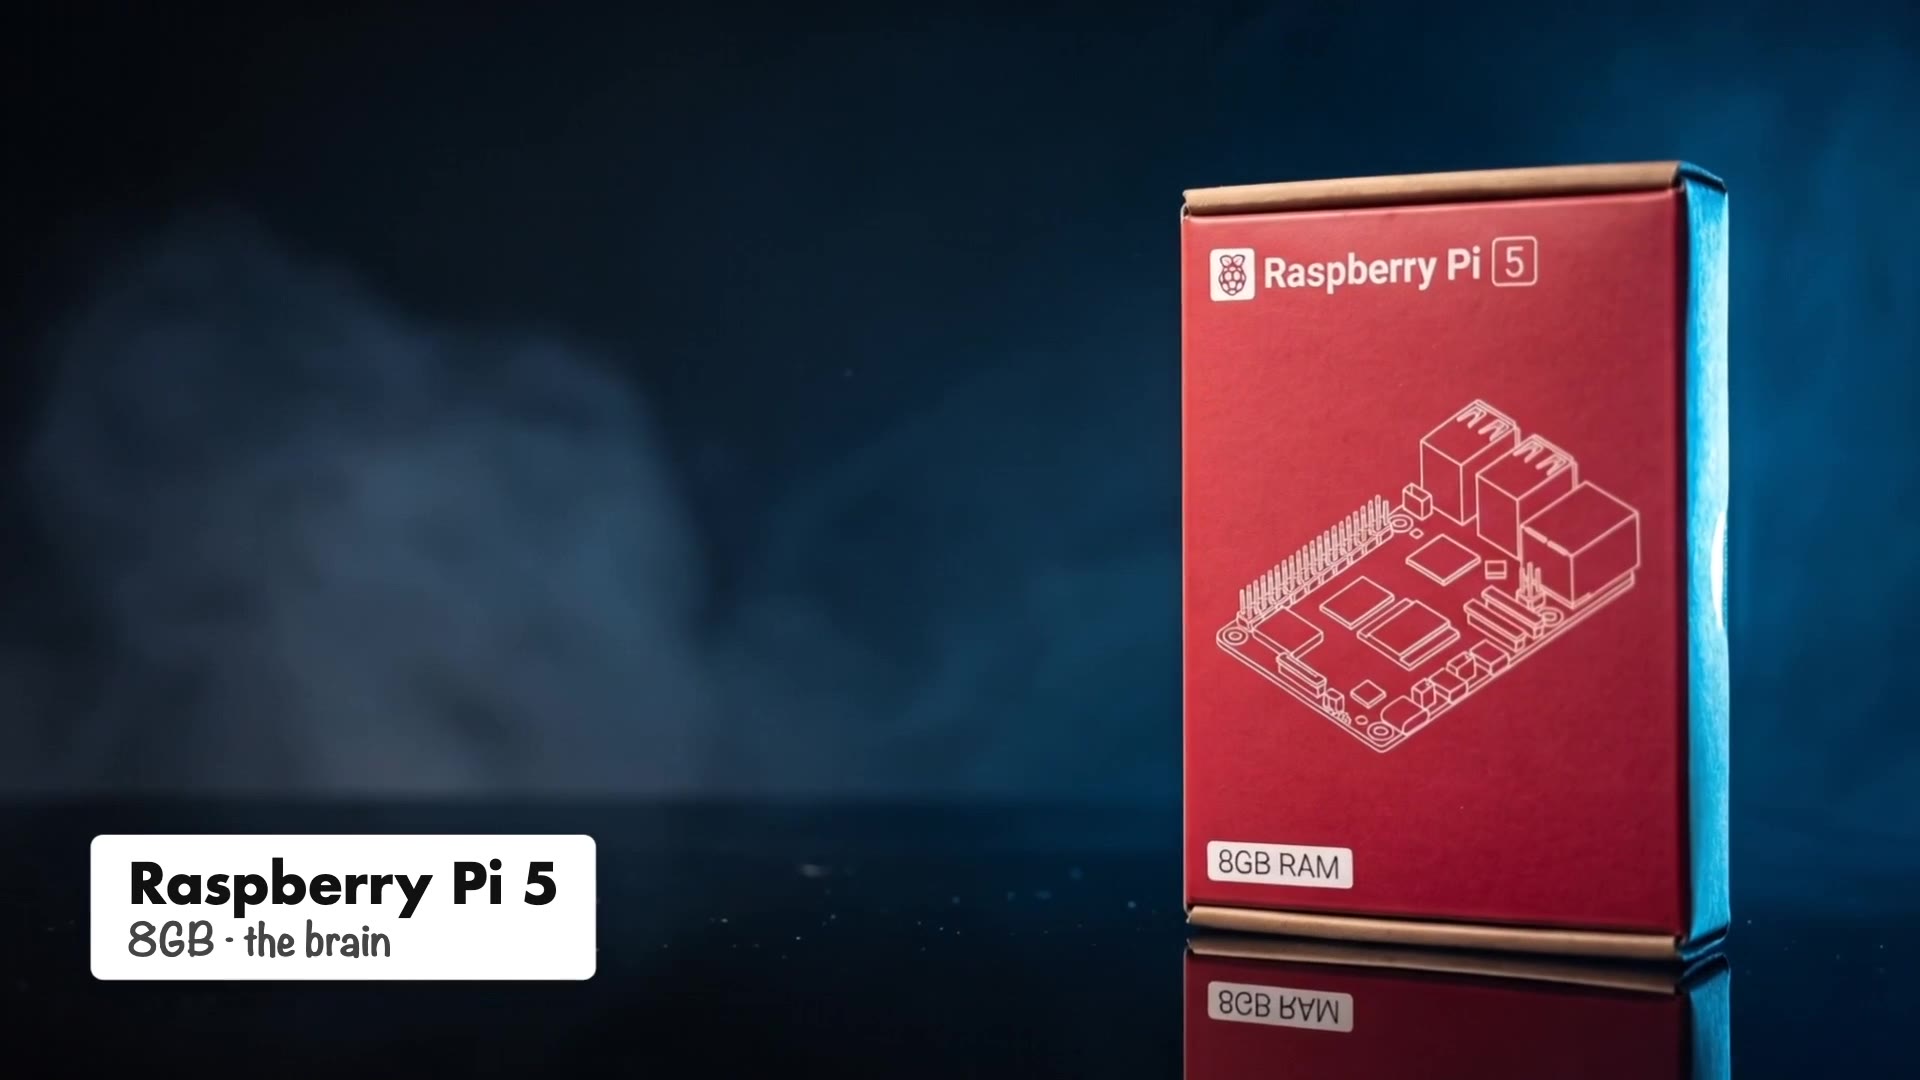
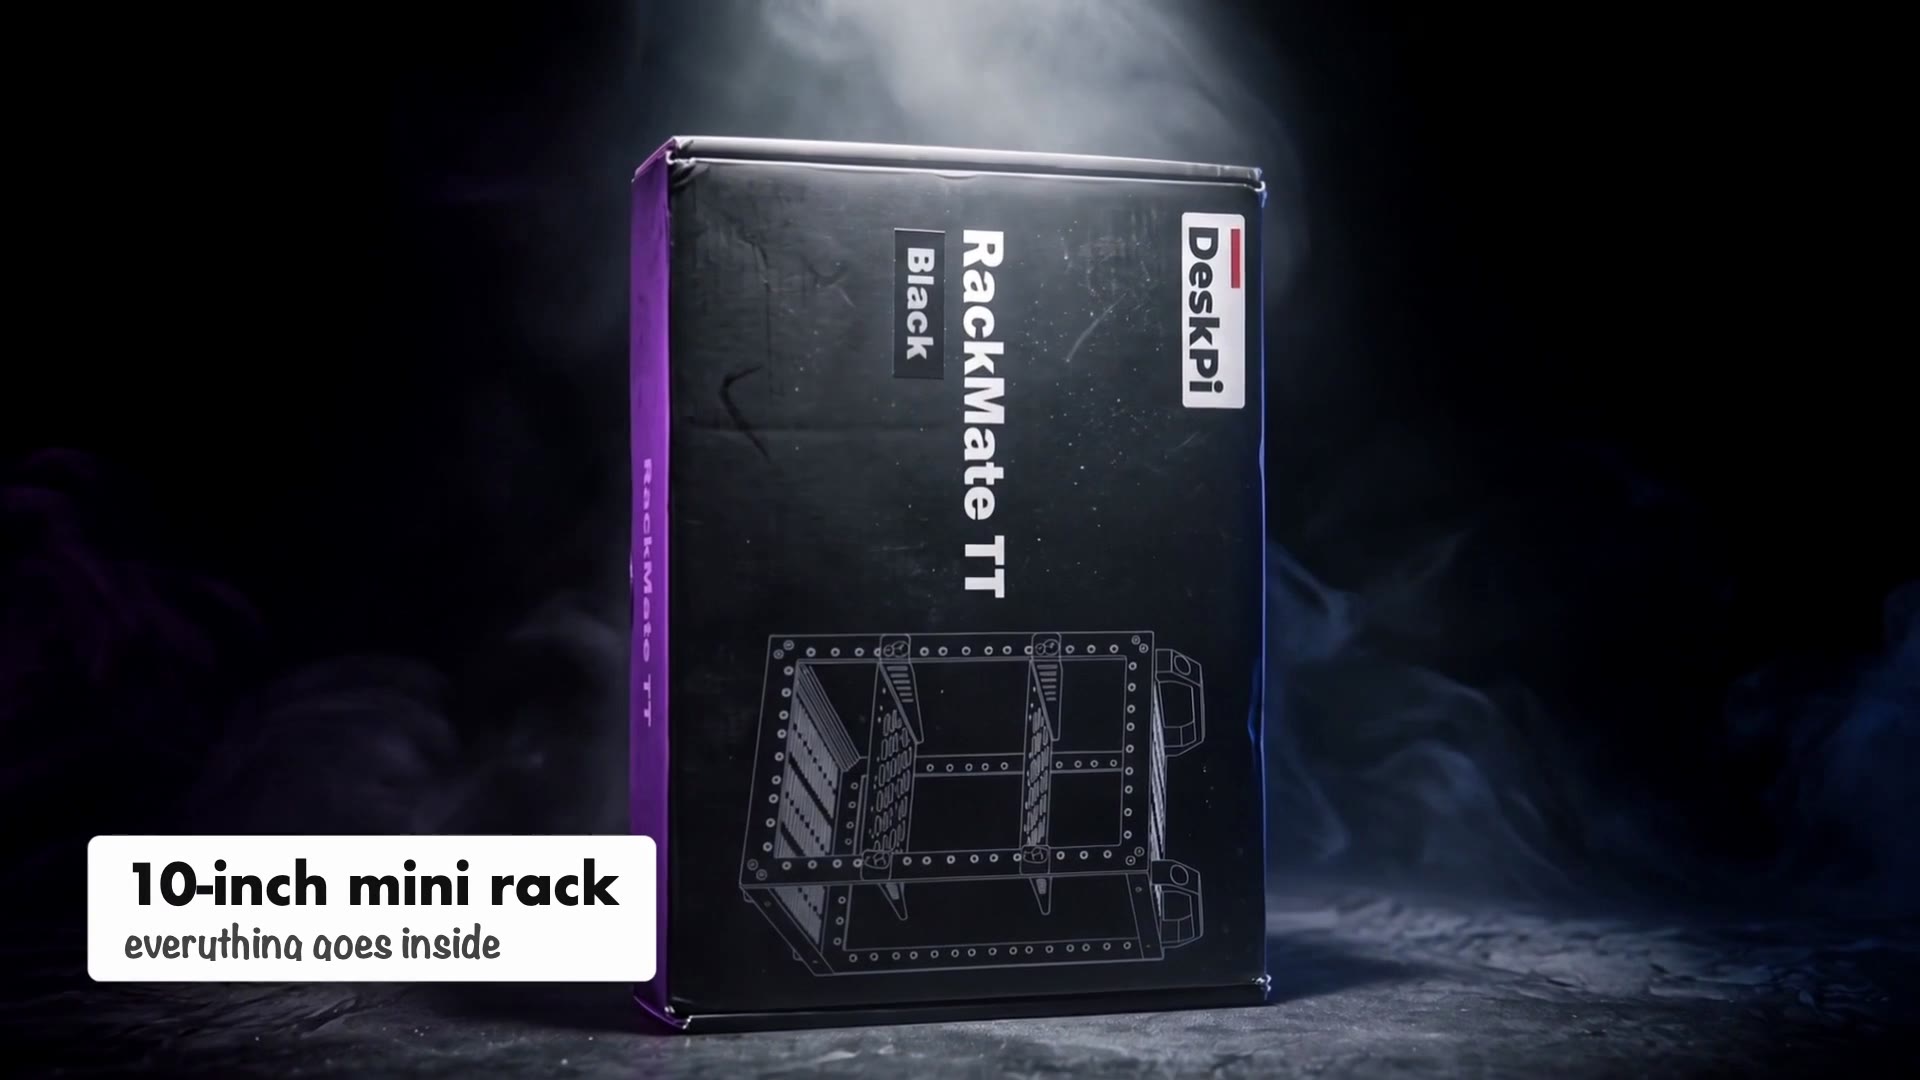
- Raspberry Pi 5 (8GB): the main computer. It's about the size of a credit card and doesn't use much power, so it's fine to leave on all day. - 1TB NVMe SSD + M.2 HAT: the Pi can't connect to the SSD on its own, so the HAT sits on top and connects the two. No moving parts, so it should hold up better than my old drive. - Active cooler and the official power supply. - Battery backup: if the power goes out, everything keeps running for a while instead of shutting off. - DeskPi RackMate T1: a 10-inch mini rack so it's not just a pile of cables on my desk. - Patch panel, fan panel, network switch, and a small screen to see what the server is doing.
The mistake I already made
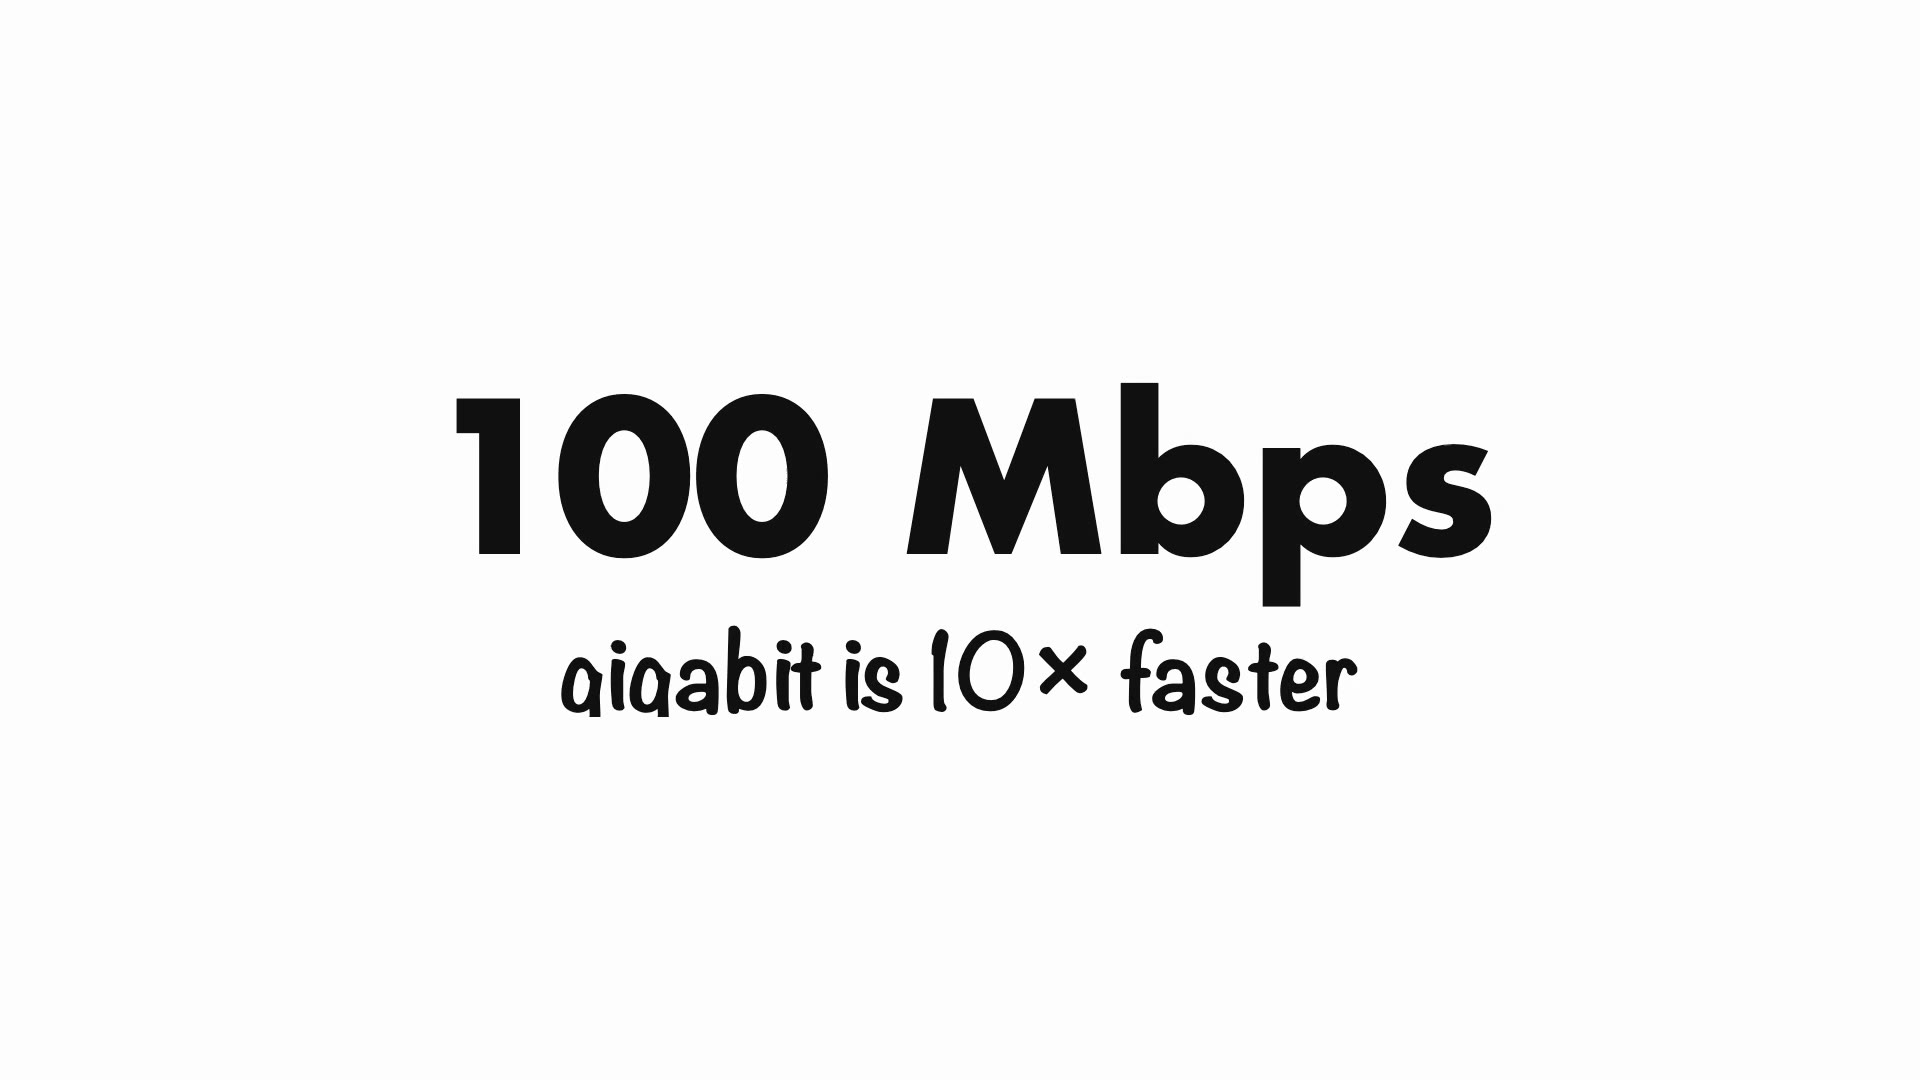
The network switch I bought turned out to be a slower model, only 100 Mbps. For moving big files that's going to be slow, so it's something I'll upgrade later.
There's also the question of where it all goes. My router is in the living room and I'm setting this up in my room, so for now the Pi connects over Wi-Fi. Later I'll add a small router in my room that picks up the Wi-Fi and gives the rack wired connections.
How I made the video
This was also an experiment in building with AI on the production side. I recorded the voiceover and a few clips, and built the editing pipeline with Claude Code:
- Cleanup: cut the pauses and filler words, and denoised and leveled the voiceover to YouTube's loudness standard. - Graphics: synced every on-screen graphic to the words I'm saying, using Whisper word timestamps. The hand-drawn icons and handwriting are HTML and CSS animations rendered frame by frame. - No repeats: a rule in the pipeline checks that no clip or graphic is shown twice. - Captions, Shorts and thumbnail: generated the captions, cut vertical Shorts from the same edit, and tested title keywords against real YouTube search data before posting.
Buddy, the little StackChan robot on my desk, is in it too. Right now he's just a small robot. Eventually he'll be the voice of a home assistant running on this lab.
What's next
Once the homelab is up, the first thing I'm doing is moving my app and knowledge base onto it. After that, I want to be able to reach it from anywhere (there are some safe ways to do that, and I'll show how I set it up). And eventually, a voice assistant that runs on it and can control things around my house.
Next episode, I put the rack together: [How I Built My AI Homelab](/blog/how-i-built-my-ai-homelab). And if you want to build one yourself, the [full homelab guide](/blog/build-your-own-homelab) has every part and every step.