How to Turn Your Home Laptop into a Home Server (2026)
I turned an old HP laptop into a home server. It keeps my files now, and my phone opens them straight from the laptop over my home Wi-Fi, even when the internet is down. This post goes with the video above. It has every step and every command, so you can do the same with any old laptop you have lying around.
All the commands and files are also on my GitHub: [laptop-home-server](https://github.com/KooEmmanuel/laptop-home-server). You can download the Nextcloud files from there straight onto your server.
What you need
- An old laptop. Mine is an HP ProBook 450 G7 with an Intel Core i7, 16 GB of memory and a 512 GB drive. Any 64-bit laptop with 4 GB of memory or more will do. Everything on it gets erased, so copy off anything you want to keep. - A USB stick of 8 GB or more. Keep a microSD card and a small USB card reader nearby too. You'll see why in step 3. - Your everyday computer to set things up from. I used my Mac. - Your Wi-Fi name and password. - An afternoon. Most of it is waiting for things to download and install.
Everything I used is free.
1. Download Ubuntu Server
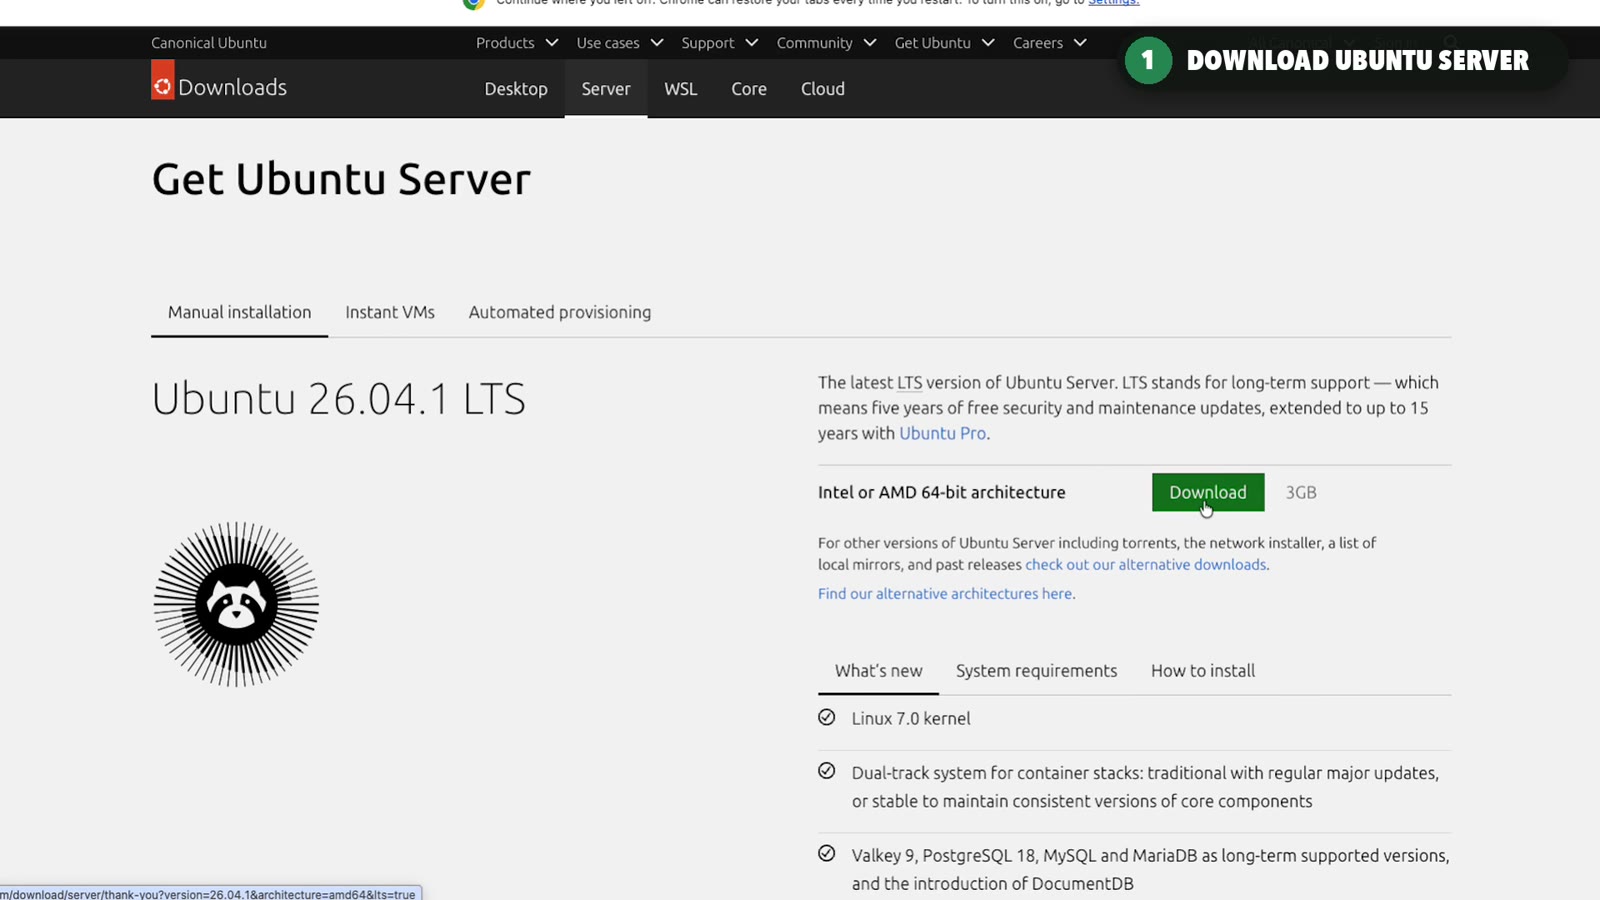
The laptop is going to run Ubuntu Server, a version of Linux made for machines that stay on. On your computer, go to [ubuntu.com/download/server](https://ubuntu.com/download/server) and download Ubuntu 26.04.1 LTS. It's one file of about 3 GB.
LTS means long-term support. This version gets security updates for five years, which is what you want on something that runs all day.
2. Write it to the USB stick
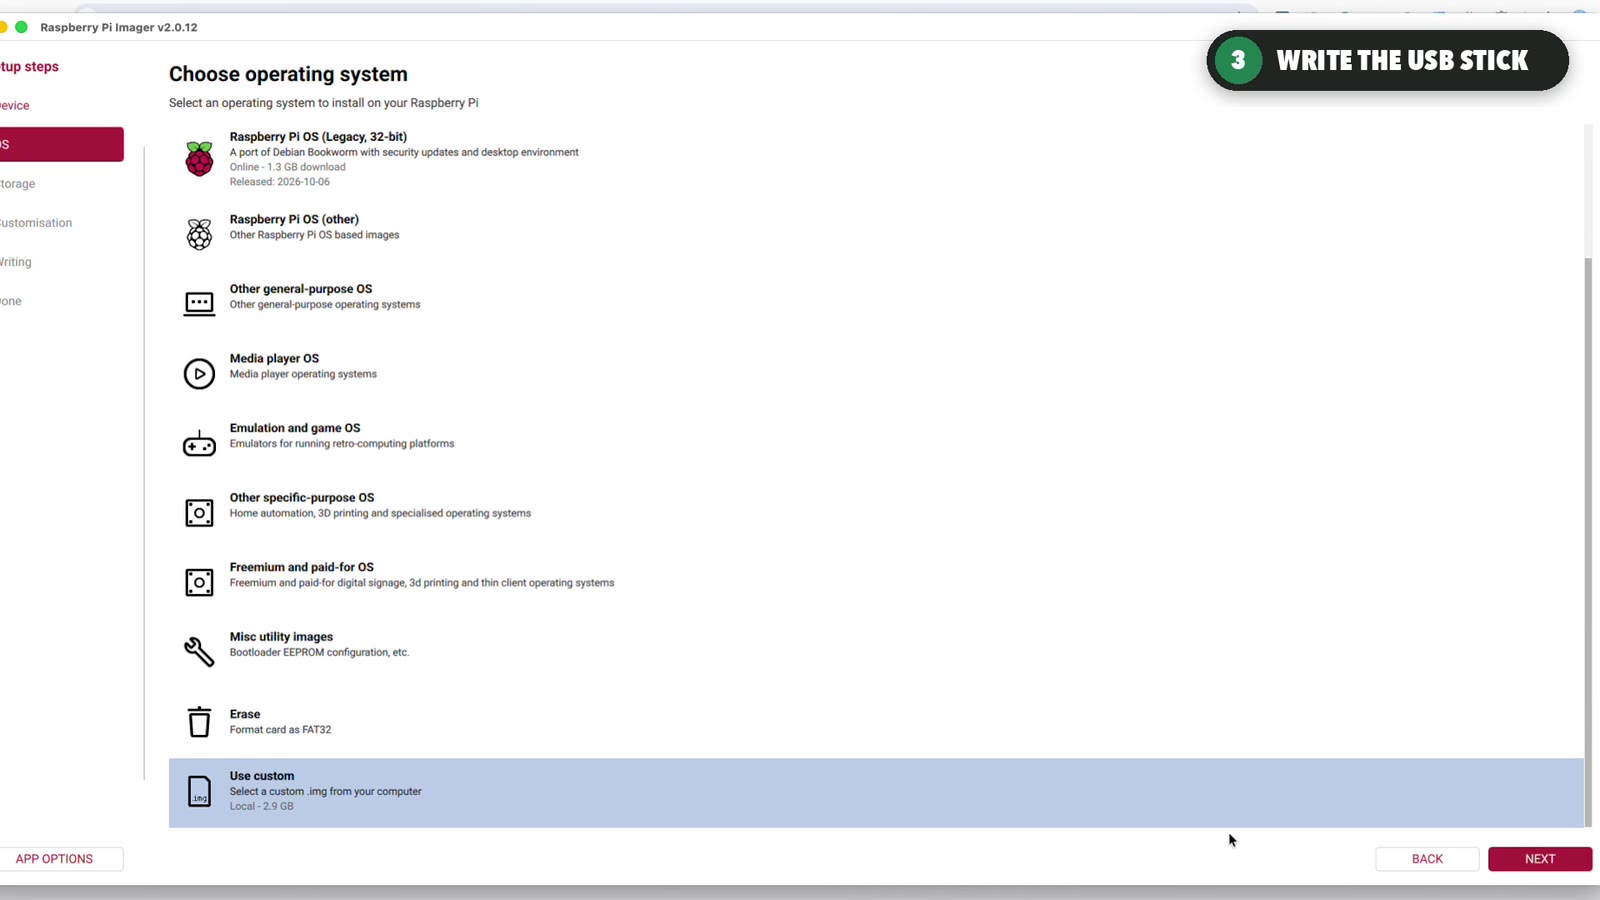
You need a tool that copies the Ubuntu file onto the stick in a way a computer can start from. I used Raspberry Pi Imager. It's made by Raspberry Pi, and it works for other systems too. Download it from [raspberrypi.com/software](https://www.raspberrypi.com/software/) and install it like any other app.
1. Plug in the USB stick. Everything on it will be erased. 2. Open Raspberry Pi Imager. For the device, choose No filtering. 3. For the operating system, scroll to the bottom of the list, choose Use custom, and pick the Ubuntu file you downloaded. 4. For storage, pick your USB stick and accept the warning.
Writing takes a few minutes. Imager checks the stick afterwards and shows Write complete.
3. Start the laptop from the stick
Plug the stick into the laptop, turn it on and tap Esc straight away. On HP laptops that opens the Startup Menu, and F9 from there opens the boot menu, the list of everything the laptop can start from. Other brands use other keys: Dell and Lenovo use F12, ASUS laptops use Esc and MSI uses F11.
My USB stick wasn't in that list.
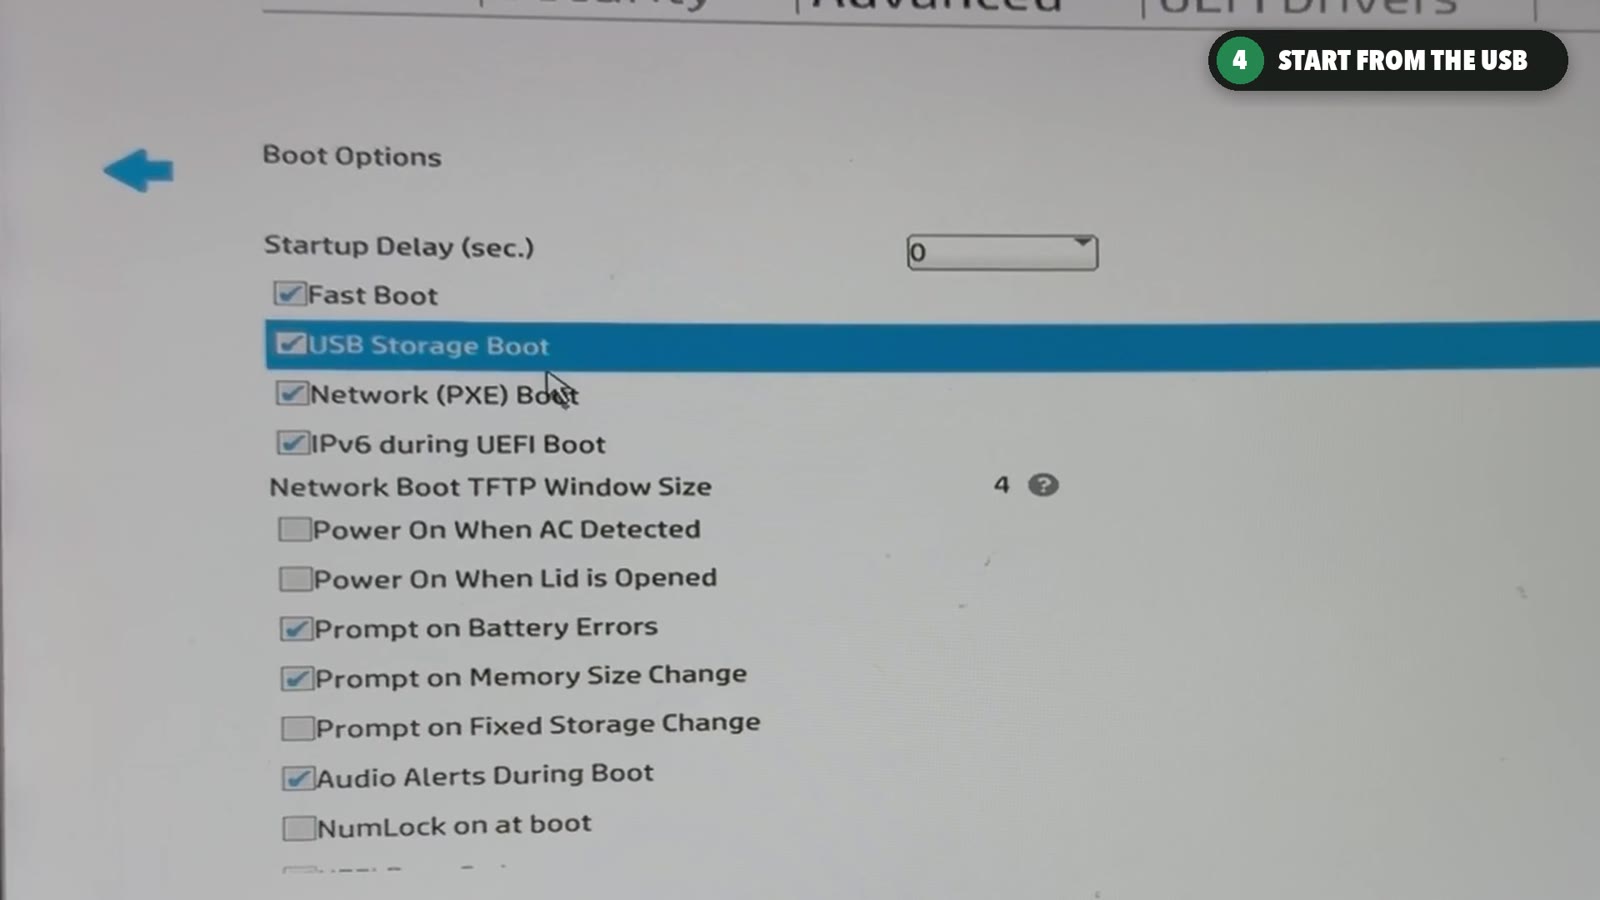
I pressed F10 to open the BIOS, which is the laptop's own settings screen, and went through the boot options. USB Storage Boot was already ticked, and the line where the USB stick should appear was empty. The laptop wasn't seeing the stick at all.
So I checked the stick on my Mac and compared what was on it with the Ubuntu file, byte by byte. They matched exactly, so the stick had been written correctly. Some laptops simply ignore some cheap USB sticks, and this HP was one of them.
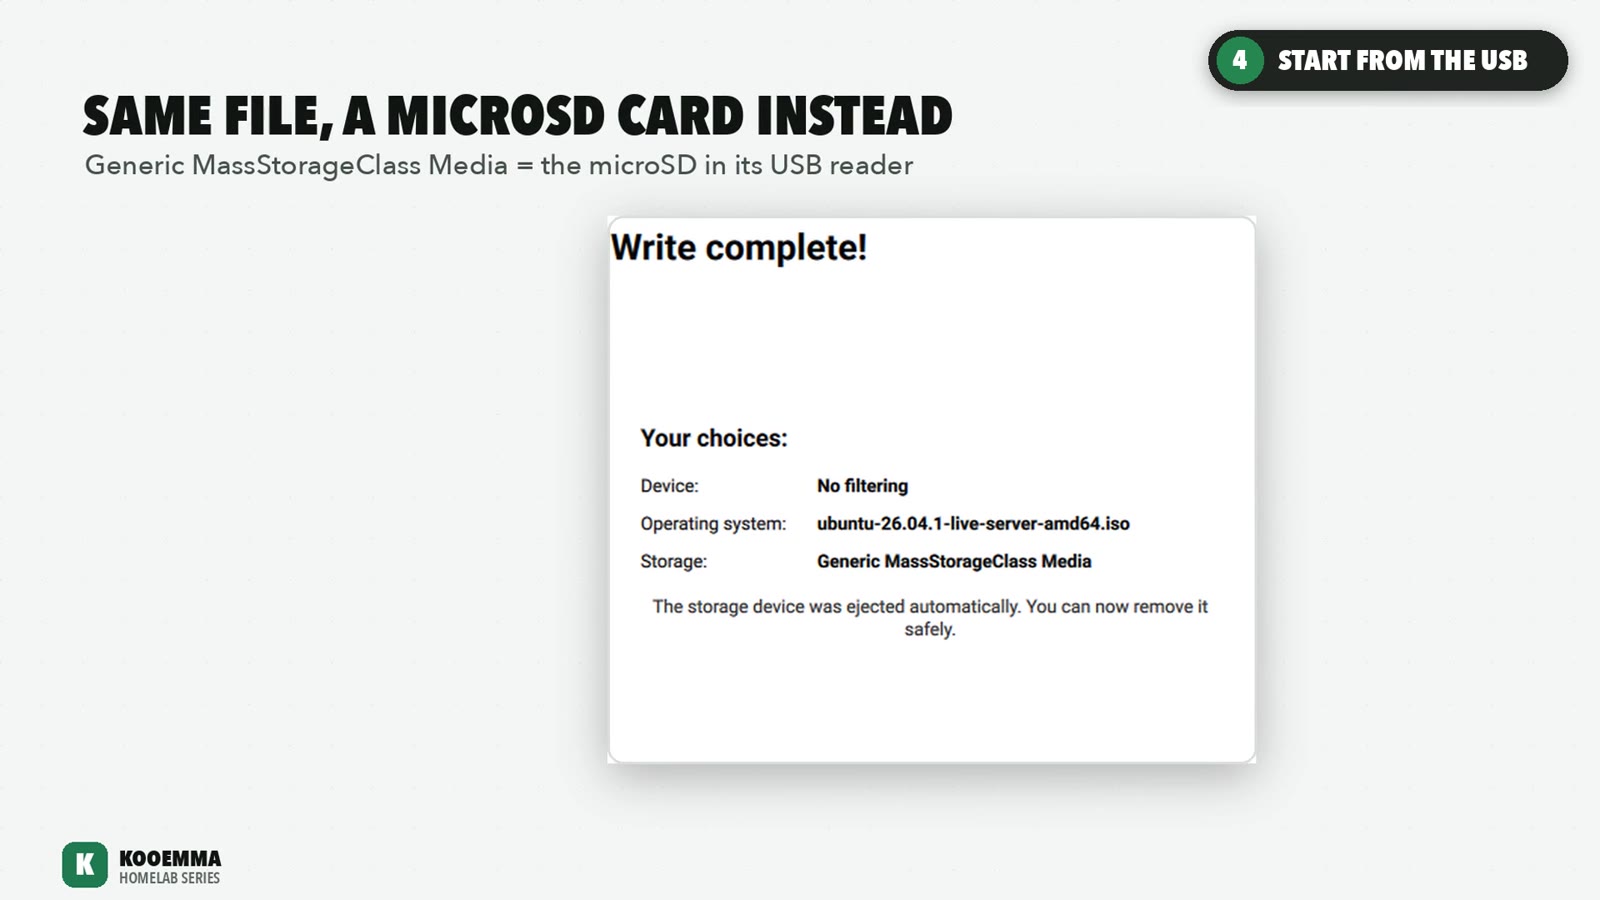
I wrote the same file onto a microSD card in a small USB card reader. It showed up in the boot menu straight away as Generic USB Storage.
If your stick doesn't appear, try another stick or a card reader before you spend an evening in the BIOS like I did.
4. Install Ubuntu Server
Pick the stick in the boot menu, then Try or Install Ubuntu Server. The installer runs on the keyboard: arrow keys to move, Enter to choose, Space to tick a box.
- Language and keyboard: pick yours, then choose Ubuntu Server as the type of install. - Network: mine said it wasn't connected, because the laptop had no cable to the router. Choose Continue without network. Wi-Fi comes right after the install. - Storage: Use an entire disk. This is the step that wipes Windows. - Profile: your name, a name for the server, a username and a password. Remember the username and password. - Ubuntu Pro: skip it. - SSH: tick Install OpenSSH server. This is what lets you control the laptop from your own computer later. - Featured snaps: leave them all unticked.
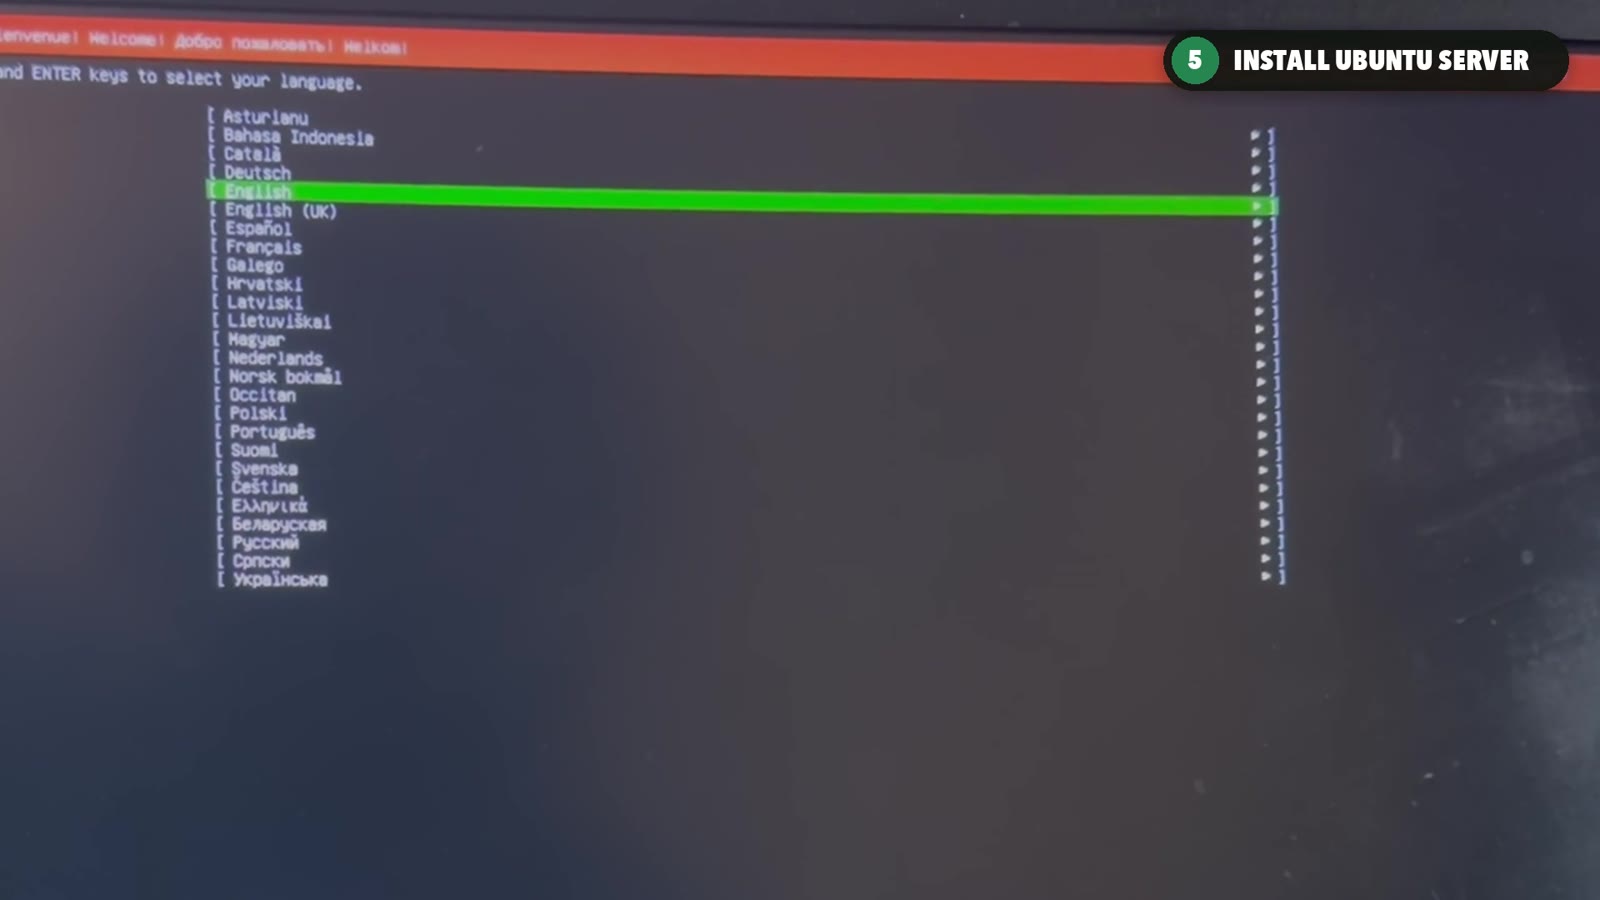
When it says Installation complete, choose Reboot Now, take the stick out when it asks, and press Enter.
After the reboot you get a login prompt on a black screen. That's normal for a server. Log in with the username and password you just made.
5. Connect it to Wi-Fi
My laptop can't reach the router with a cable, so it had to be Wi-Fi. First, check whether it's on the network:
bash hostname -I
That prints the laptop's address. Mine printed nothing, which is what happens when you skip the network during the install. I typed it in capitals the first time and got "command not found". Linux cares about capital letters, so it's hostname in lower case with a capital -I.
Next, find the name of the Wi-Fi card:
bash ls /sys/class/net
The one that starts with wl is the Wi-Fi card. Mine is wlp3s0. Then check the Wi-Fi software is installed:
bash dpkg -s wpasupplicant | grep -i status
It should say install ok installed. On my first try I typed wsasupplicant and got a scary "not installed" message about a package that doesn't exist, so check your spelling before you panic.
Wi-Fi on Ubuntu Server is set up in a small file that a tool called netplan reads. Create it:
bash sudo nano /etc/netplan/60-wifi.yaml